Flashcards for Special Education: A Teacher's Guide
Flashcards for special education are one of the most flexible tools a teacher or parent can keep on hand. Because you control every word, picture, and prompt, you can shape each card to match a student's exact needs, big text for low vision, a photo instead of a word for non-readers, or a single concept per card to reduce overwhelm. The easiest way to make them your way is a free flashcard maker that lets you build a deck, flip through it on screen, and print a clean set to use in person.
Short on time? Open the free flashcard maker, type your terms and definitions (there's a ready-made set below to copy), and you'll have a printable deck in minutes. No sign-up, no fee, nothing to install.
Why Flashcards Help Diverse Learners
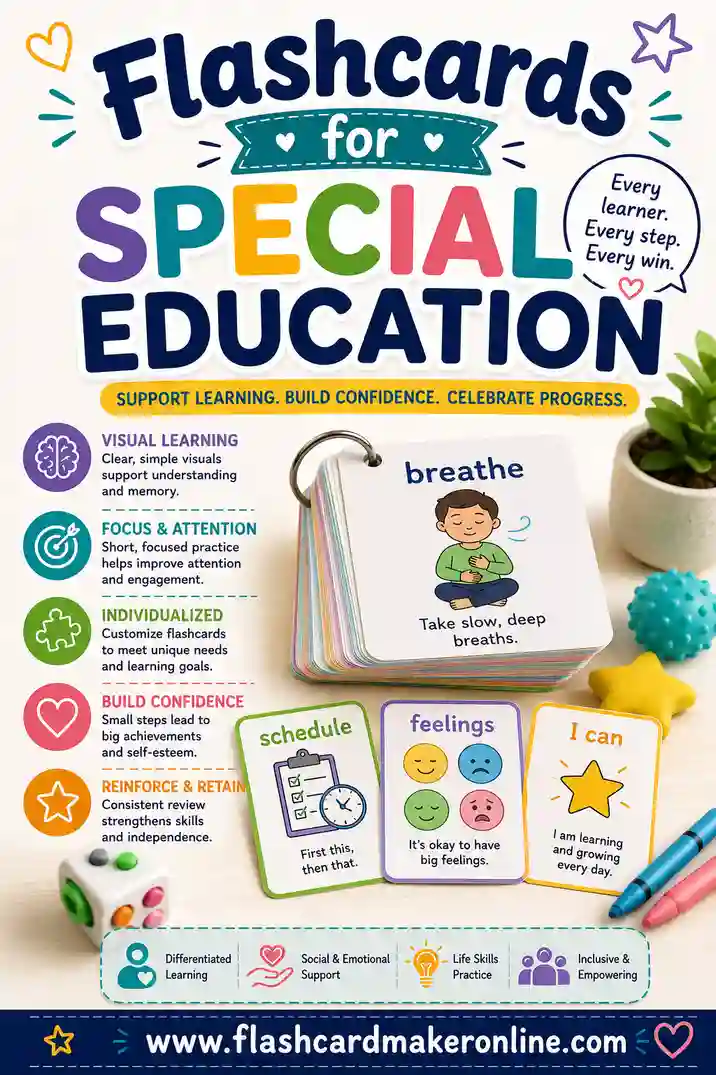
Flashcards break learning into the smallest possible piece: one card, one idea. For students who get overwhelmed by a full worksheet or a busy page, that simplicity is a gift. There's nothing to scan, nothing to filter out, just one thing to look at and respond to.
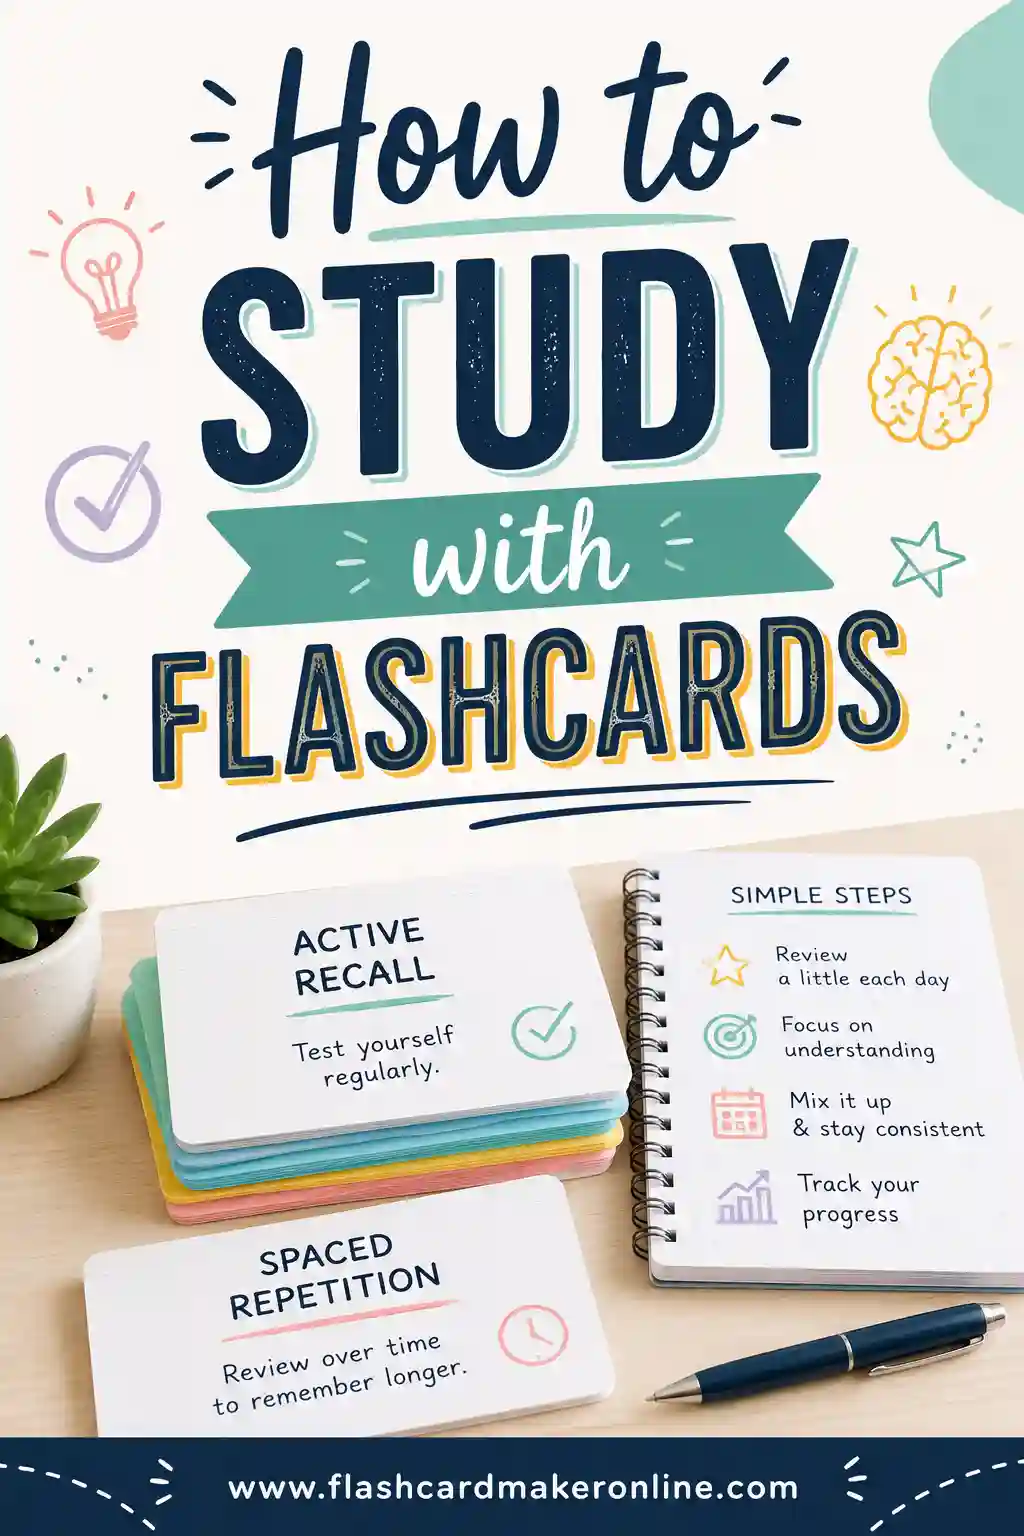
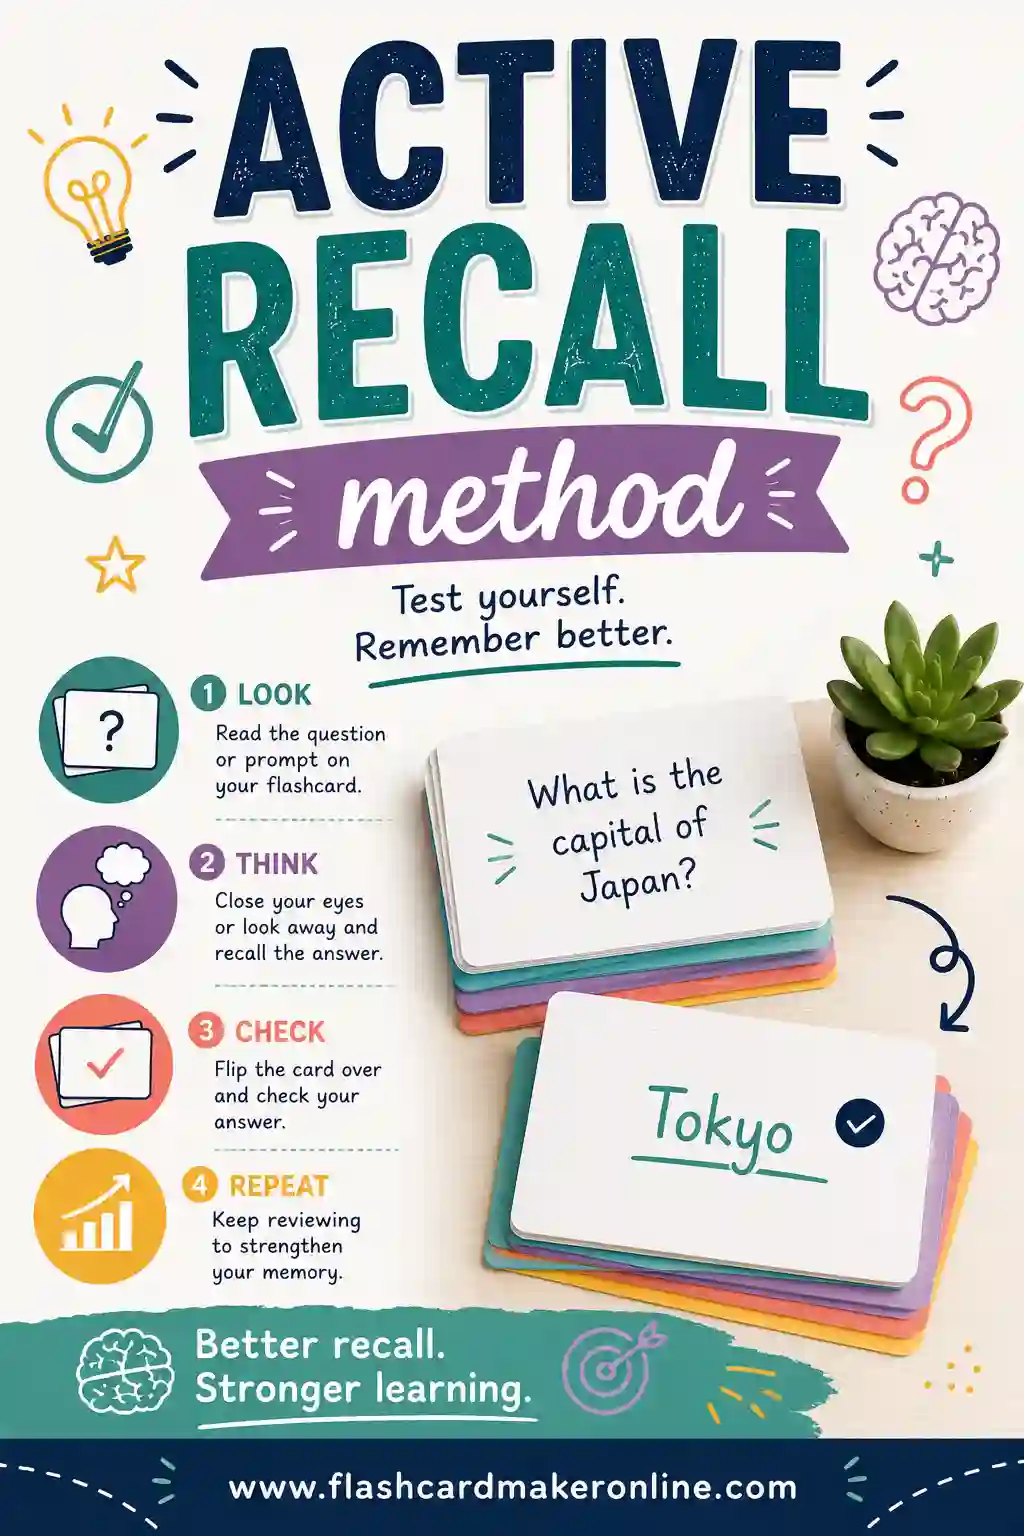
They also lean on active recall, the act of pulling an answer from memory, which builds stronger, longer-lasting learning than passively listening or watching. You can read more in our guide to the active recall method. For many special education students, the repetition and predictability of flashcards are calming, too. The routine itself can lower anxiety.
A few reasons they work so well:
- They isolate one skill at a time. No clutter, no distractions.
- They're fully customizable. Pictures, symbols, large text, color coding, your call.
- They build on success. Quick wins keep students motivated.
- They're repeatable. The same predictable routine, as often as needed.
Adapting Flashcards for Different Needs
The real power of making your own cards is that you can adapt them. Here's how to tailor flashcards for some common needs.
For non-readers and emerging readers
Use a clear photo or simple icon as the prompt instead of a word. Pair the picture with the word so they start to connect the two over time. Real photos often work better than cartoons for literal thinkers.
For low vision
Crank up the font size, use high-contrast colors (black on white or white on black), and keep one large item per card. Printing on cardstock keeps the cards firm and easy to handle.
For autism and sensory needs
Keep cards visually plain and consistent. Use the same layout every time so the format never becomes the puzzle. Predictable structure reduces cognitive load and anxiety.
For motor difficulties
Print larger cards that are easy to grip, or laminate them so they hold up to repeated handling. Big cards are also easier to point to for students who communicate by selecting.
For memory and processing needs
Limit each card to a single concept, and review in short, frequent sessions. Pair words with pictures (a technique called dual coding) to give the brain two routes to the same memory.
Skills You Can Teach With Flashcards
Flashcards aren't just for academics. In a special education setting they shine across many domains.
| Skill area | Example cards |
|---|---|
| Sight words | "the," "and," "go," "stop" |
| Letters and sounds | Letter on front, sound or example word on back |
| Numbers and counting | A group of dots, with the number on the back |
| Emotions | A face photo, with the emotion named on the back |
| Daily routines | A picture of brushing teeth, with the step named |
| Social cues | "Someone is talking" with "Wait your turn" on the back |
| Safety signs | A stop sign, with "Stop" and what it means |
| Vocabulary | A photo of an object, with its name and use |
Because you build the deck, you decide exactly which skills to target and how to present them.
A Sample Picture-Word Deck (Copy & Paste)
Here's a ready-to-use starter deck of everyday words paired with simple, literal definitions. Copy the rows into the flashcard maker, or use it as a template for your own student.
| Front (with picture) | Back (definition) |
|---|---|
| Apple | A round fruit you can eat |
| Dog | An animal that says woof |
| Ball | A round toy you can throw |
| Cup | You drink water from it |
| Shoe | You wear it on your foot |
| Hat | You wear it on your head |
| Sun | The bright light in the sky |
| Tree | A tall plant with leaves |
| Car | It has wheels and you ride in it |
| Bed | You sleep in it at night |
| Spoon | You use it to eat |
| Book | It has pages you read |
| Happy | The feeling when something is good |
| Sad | The feeling when something is not good |
| Stop | Do not go |
| Go | You can move now |
| Blue | The color of the sky |
| Red | The color of an apple |
| Big | Not small |
| Wash | To make something clean |
| Milk | A white drink that comes from cows |
| Fish | An animal that swims in water |
| Open | To make something not closed |
| Hot | Something that is very warm |
| Smile | What your mouth does when you are happy |
| Chair | A thing you sit on |
Twenty-six cards is a manageable first set. Add the matching picture to each front using your own classroom photos for the strongest connection.
How to Run a Flashcard Session
Short, positive, and predictable wins the day. Here's a simple flow.
- Set up a calm space. Few distractions, the deck within reach.
- Start with cards they know. A couple of easy wins build confidence and buy-in.
- Show one card at a time. Give plenty of wait time before prompting.
- Celebrate correct answers. Specific, genuine praise keeps motivation high.
- Reteach gently on misses. Show the answer, name it, and move on. No pressure.
- Keep it short. Two to five minutes is often enough. Stop while it's still going well.
Session length by need
| Student profile | Session length | Cards |
|---|---|---|
| Young or easily fatigued | 2–3 min | 5–8 |
| Building stamina | 5 min | 8–12 |
| Independent reviewer | 8–10 min | 12–20 |
The goal is steady, repeated exposure, not a long grind. Many short sessions beat one long one, which is the heart of spaced repetition.
Tips for Parents Using Flashcards at Home
You don't need to be a teacher to use these well at home.
- Tie cards to real life. Show the "spoon" card at dinner, the "shoe" card before going out.
- Follow your child's lead. Stop before frustration sets in. Always end on a win.
- Make it a game. Hide a card and find it, or match a card to a real object.
- Keep a small deck. Five to ten cards a child knows well beats a giant stack.
- Be consistent. The same short routine each day builds comfort and progress.
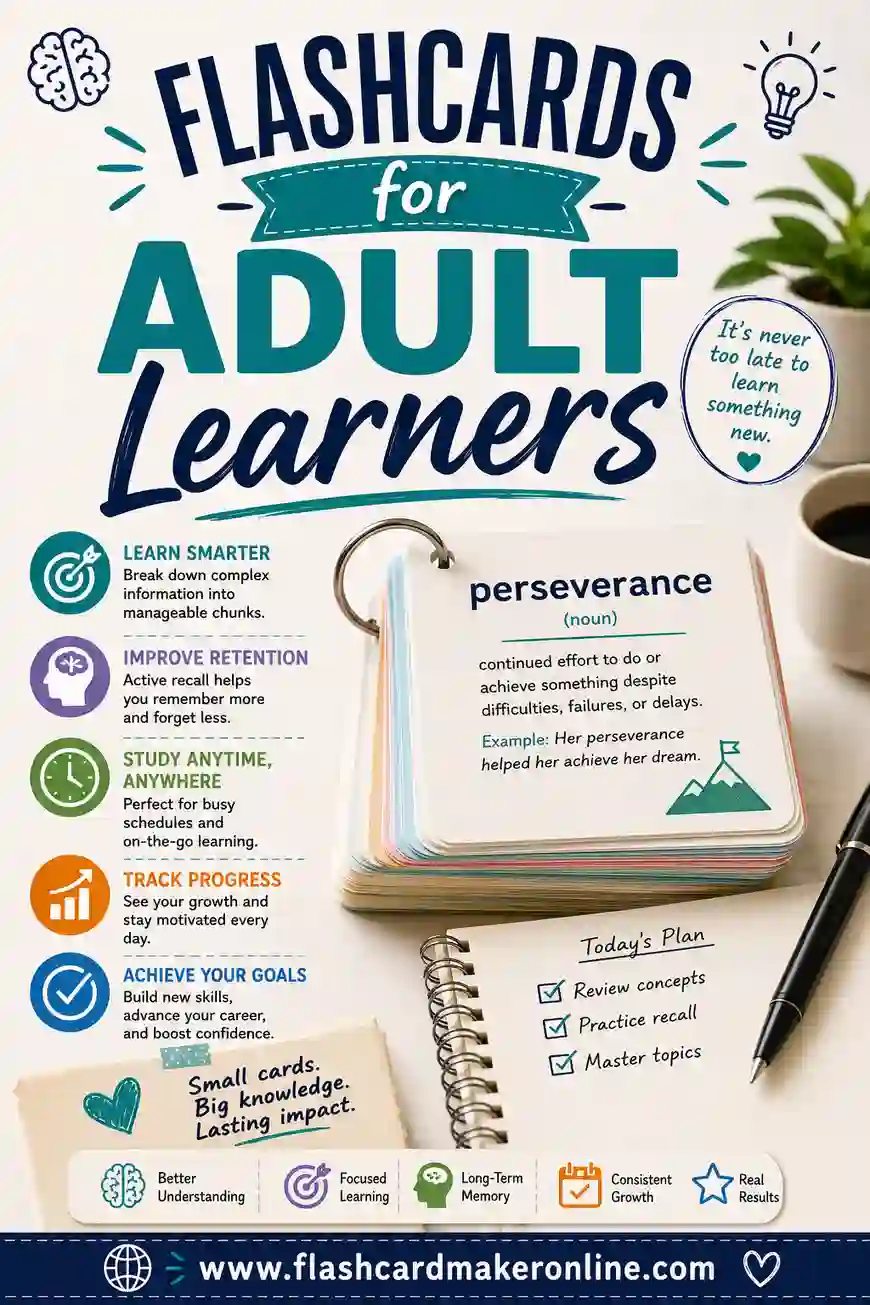
If you're also supporting an older learner, our guides on flashcards for adult learners and how to study with flashcards have routines that scale up nicely.
Printing Tips for Durable, Accessible Cards
Cards in a special education setting get a lot of handling, so build them to last.
- Use cardstock. It survives daily use far better than thin paper.
- Laminate or use sleeves. Cards stay clean and can be wiped down.
- Print large. Bigger cards are easier to see, grip, and point to.
- Keep contrast high. Dark text on a light background reads most clearly.
- One item per card. Resist the urge to crowd. White space helps focus.
Tracking Progress Without Overwhelming the Student
One of the quiet strengths of flashcards is how easy they make it to see growth. You don't need a spreadsheet or a fancy app, just a simple system the student barely notices.
The three-pile method
Sort cards into three small piles as you go: knows it, getting there, and still learning. Each session, you can see the "knows it" pile grow. That visible progress is motivating for the student and gives you a quick read on what's working without any extra paperwork.
A simple mastery log
Keep a sticky note or a small sheet where you jot the date a card moves into "knows it." Over a few weeks you'll have a clear, low-effort record of progress, the kind that's handy at a parent meeting or for tracking an IEP goal.
Watch the rhythm, not just the right answers
Speed matters as much as accuracy. A student who answers instantly has truly mastered a card; one who hesitates is still building the memory. Keep the slow ones in rotation a bit longer, even if they technically got them right.
The point isn't to grade the student. It's to spot what to review next and to give everyone, the student included, a reason to feel good about the progress.
Building Flashcards Around IEP and Learning Goals
Because you control every card, flashcards slot neatly into a student's individual goals. The trick is to make the deck mirror the target, not the textbook.
- Pull cards straight from the goal. If the goal is recognizing ten sight words, make exactly those ten cards. Don't pad the deck with extras that dilute the focus.
- Break a big goal into card-sized steps. "Identify coins and their values" becomes one card per coin, front a picture, back the name and value. Small, clear steps build toward the larger skill.
- Match the card to the support the student uses. If a learner relies on visuals, lead with a photo. If they're working on reading, lead with the word and back it with a picture. The format should reinforce the goal, not fight it.
- Use the deck as a gentle check-in. A quick run through the goal deck shows, at a glance, how close a student is to mastery, useful data for progress notes without a formal test.
Done this way, the deck does double duty: it's a study tool and a built-in progress tracker, all in one small stack you build once and reuse.
Frequently Asked Questions
Are flashcards good for special education students?
Yes. Flashcards isolate one concept at a time, which reduces overwhelm, and they use active recall and repetition to build lasting learning. Because you control every card, you can adapt them with pictures, large text, or high contrast to fit each student's needs.
How do I make flashcards for non-readers?
Use a clear photo or simple icon as the prompt instead of a word, and pair it with the word so the two connect over time. Real photographs of familiar objects often work better than cartoons. A free flashcard maker lets you build picture-based cards and print them.
How long should a flashcard session last?
Keep sessions short, often just two to five minutes. For students who fatigue easily, even a couple of minutes with five to eight cards is plenty. Short, frequent sessions beat one long one and keep the experience positive.
How many flashcards should I use at once?
Start small, around five to ten cards a student already knows or is close to knowing. A small deck builds confidence and avoids overwhelm. Add new cards gradually as earlier ones are mastered, and retire cards once they're solid.
Can parents use these flashcards at home?
Absolutely. Parents can tie cards to real moments (the "spoon" card at dinner, the "shoe" card before going out), keep a small deck, and run a short daily routine. Consistency and ending on a win matter more than session length.
How do I keep a student from getting frustrated?
Start with cards they already know to build a few quick wins, keep sessions very short, and always stop before frustration sets in rather than after. On a miss, show the answer gently, name it, and move on, no pressure and no drilling the same card over and over. Ending on a card they get right leaves the student wanting to come back.
Can I use flashcards for non-academic skills?
Absolutely, and they shine here. Cards work beautifully for daily routines, emotions, social cues, and safety signs, not just letters and numbers. A picture of brushing teeth, a face showing "happy," or a stop sign can all become a card. Because you build the deck, you decide exactly which life skills to target.
Ready to Build Your Deck?
Flashcards meet special education students exactly where they are, one clear card, one small win at a time. Grab the sample deck above, open the free flashcard maker, and shape every card to fit your student: big text, real photos, or one simple idea per card. Build it once, flip through it on screen, and print a durable set for hands-on practice. Start with ten cards your student is ready for and grow from there.