How to Print Flashcards: A Step-by-Step Guide
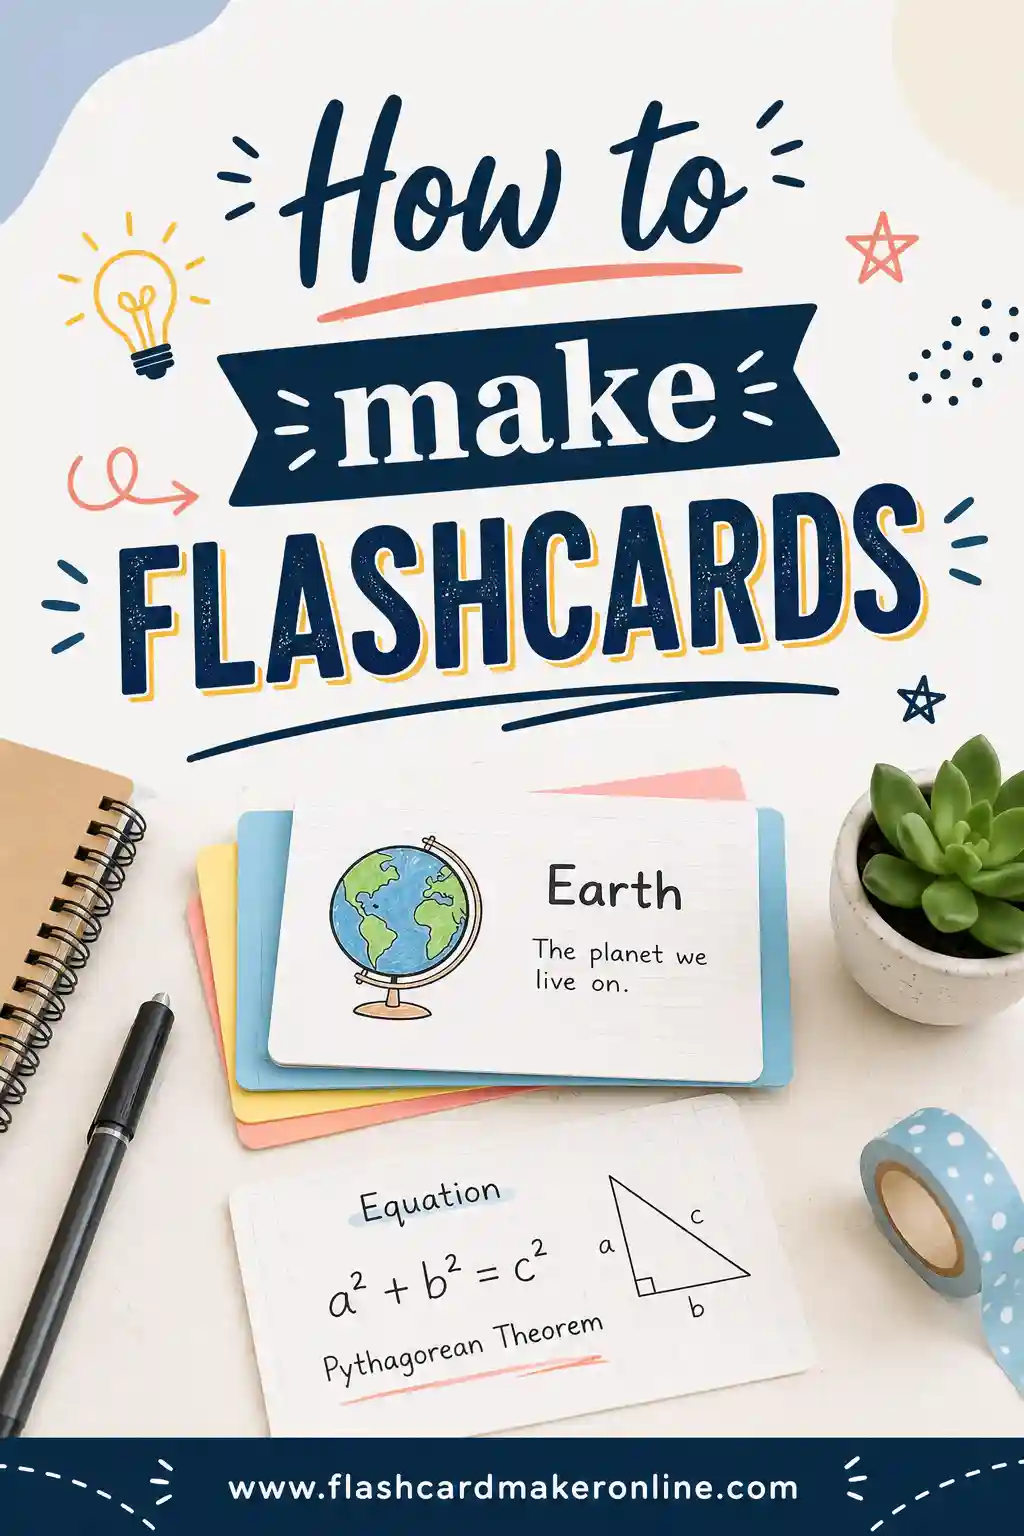
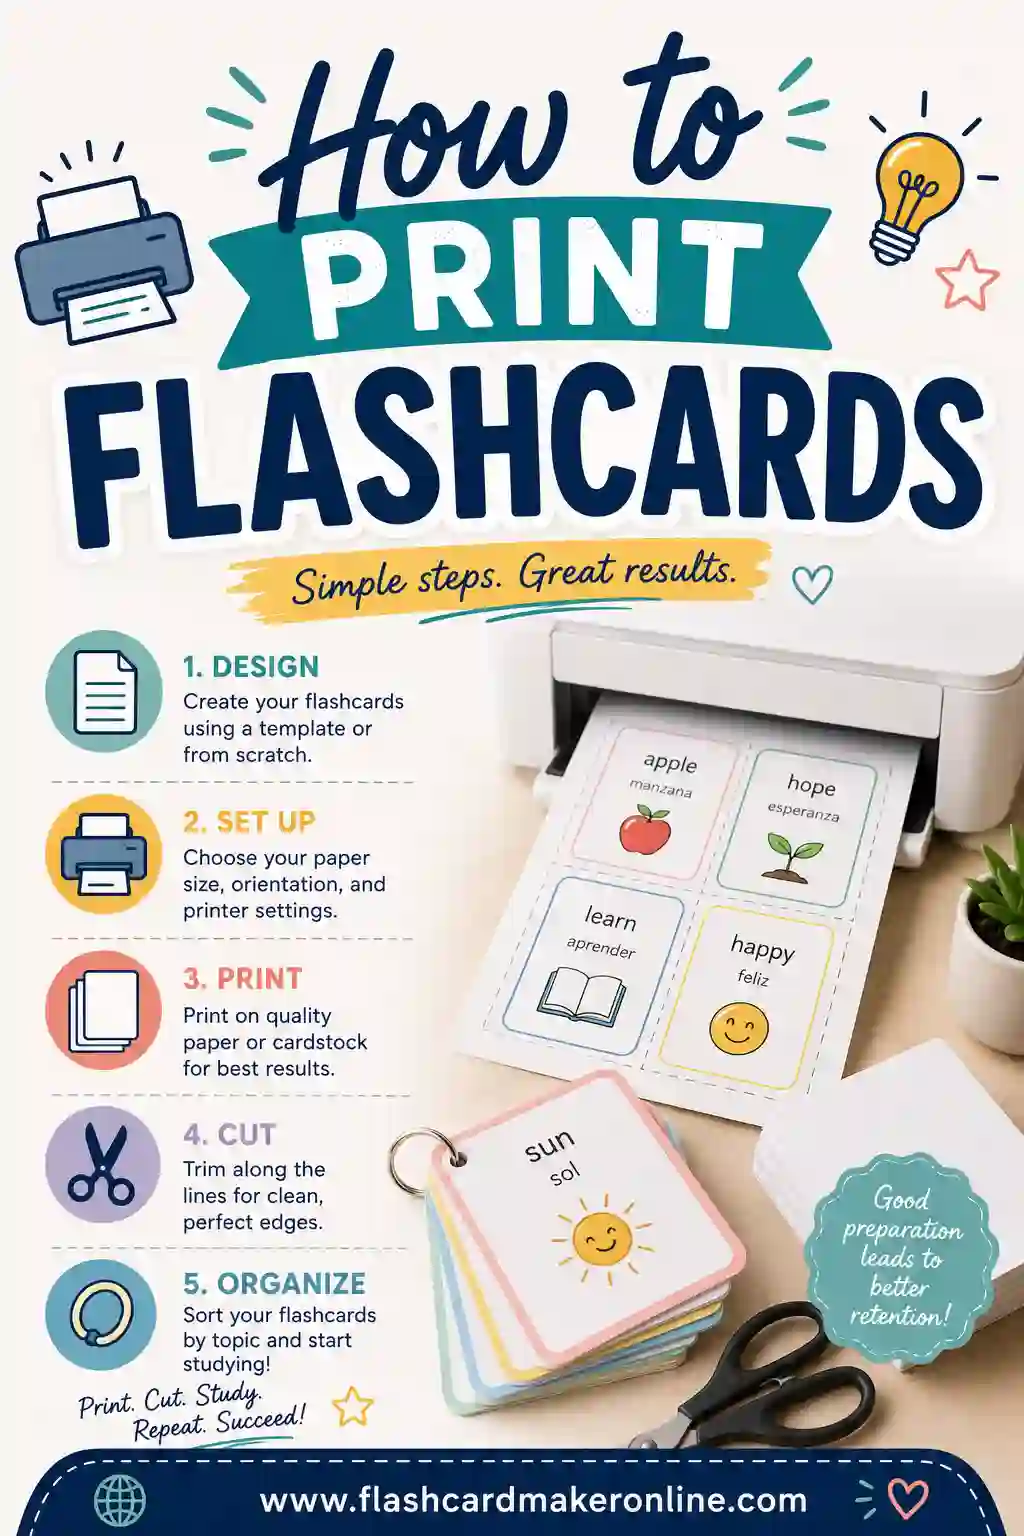
To print flashcards, type your terms and definitions into a flashcard maker, choose a card size, load cardstock into your printer, and print the layout at 100% scale. Then cut along the lines, and you've got a clean, even deck. The whole thing takes about ten minutes, and the easiest way to lay out perfectly aligned cards is a free flashcard maker that arranges them on the page for you.
Want to skip the formatting headache? Open the free flashcard maker, enter your terms, pick a size, and print a ready-to-cut sheet. No sign-up, no fiddling with tables and margins.
What You'll Need
Printing flashcards is low-tech. Here's the short supply list:
- A printer. Any home inkjet or laser printer works.
- Paper or cardstock. Regular paper for quick study, cardstock for cards you'll reuse.
- A way to cut. Scissors work, but a paper trimmer or guillotine cutter gives straighter edges and saves time.
- Your word list. The terms and definitions you want to study.
That's it. No special software, no fancy machine. If you have a printer and a stack of paper, you're ready.
Step 1: Build Your Card List
Start by writing out your terms and their answers. Keep each definition short enough to read at a glance, usually one or two lines.
The fastest path is to type your list straight into a flashcard maker. You add a term, add its definition, and repeat. The tool handles spacing, sizing, and alignment so every card comes out even. That beats building a table in a word processor, where one stray keystroke can shove everything out of place.
If you already have a list somewhere, like a spreadsheet or a notes app, you can usually paste it in and tidy it up from there.
Step 2: Choose Your Card Size
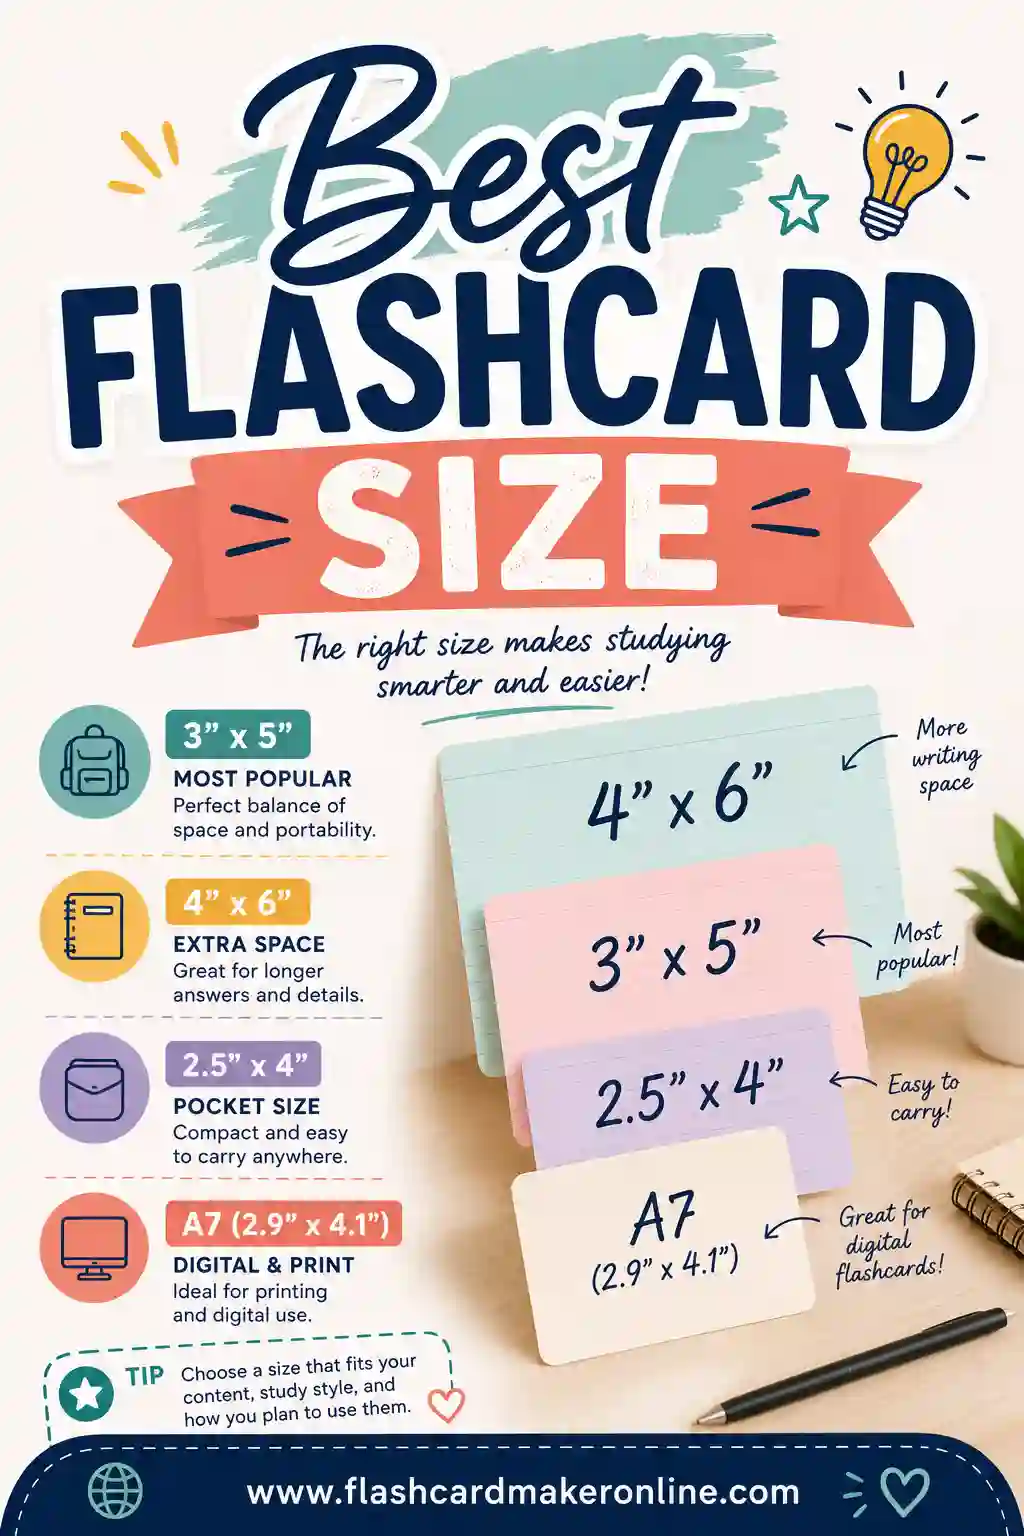
Pick a size before you print. The three common choices:
- 3 x 5 inches for most subjects (the safe default)
- 2.5 x 3.5 inches for short vocabulary and big decks
- 4 x 6 inches for diagrams or long answers
The size decides how many cards fit per page and how much you can write on each. If you're unsure, start with 3 x 5. For a full breakdown, see our guide on the best flashcard size.
Step 3: Pick Your Paper
This choice matters more than people expect.
| Paper type | Best for | Notes |
|---|---|---|
| Regular printer paper | One-time study | Cheap, but flimsy and bends easily |
| Cardstock (65–110 lb) | Daily use, reuse | Stiff, durable, feels like a real card |
| Glossy photo paper | Image-heavy cards | Crisp pictures, but pricey |
For anything you'll shuffle more than once or twice, use cardstock. It doesn't bend, the writing doesn't show through the back, and it survives weeks of handling. Regular paper is fine if you're cramming for one test and tossing the cards after.
Step 4: Set Up Your Printer
This is where most printing problems start, so take a minute here. Open the print dialog and check three settings:
- Scale: 100% (or "Actual size"). Turn OFF "Fit to Page" or "Shrink to Fit." If you don't, your printer resizes the cards and your sizes won't match.
- Paper size: Letter (8.5 x 11). Make sure it matches the paper actually in your tray.
- Quality: Normal or High. Draft mode saves ink but can look faint. For flashcards you'll keep, go with normal.
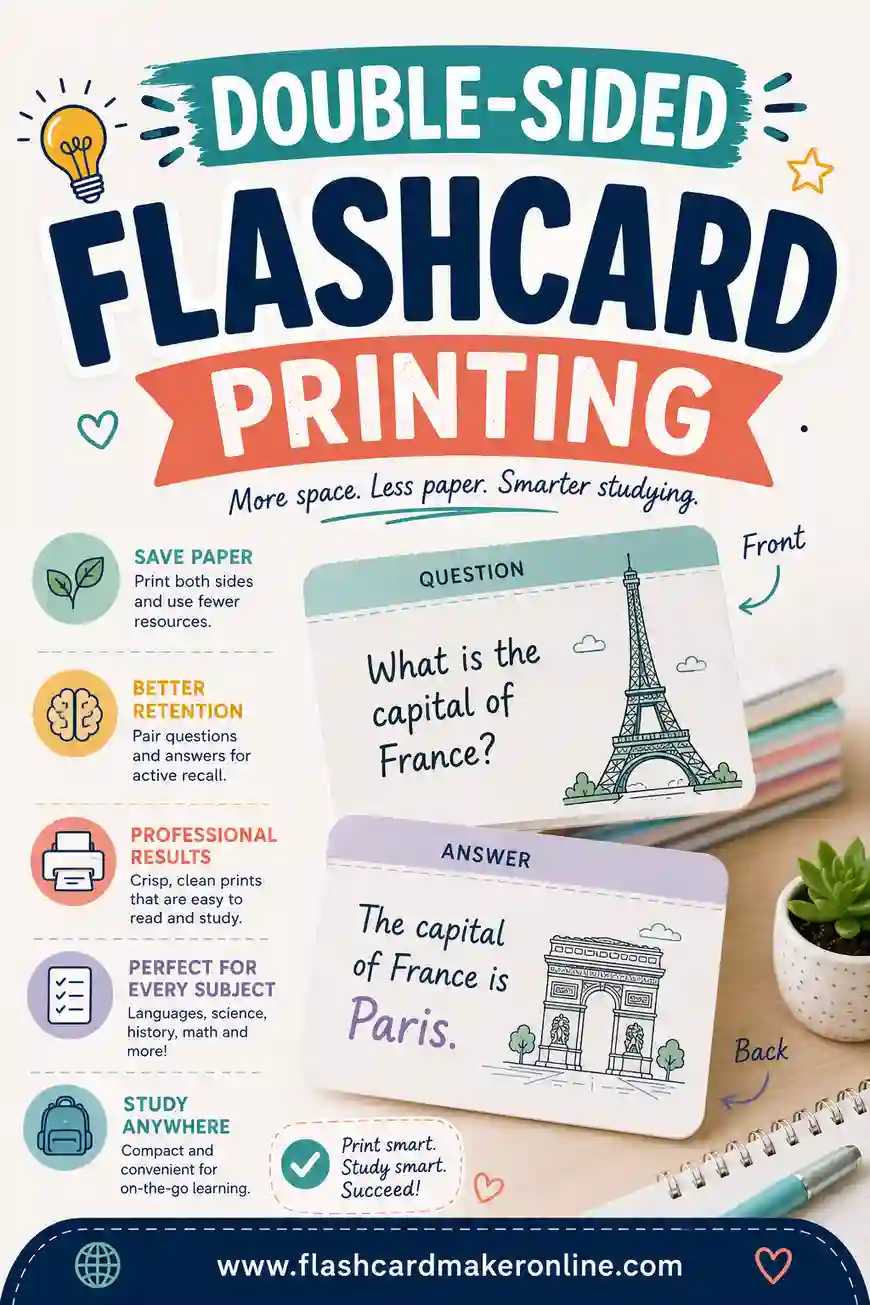
If you're printing both sides of each card, you'll also set duplex options here. Our guide on double-sided flashcard printing covers that in detail.
Step 5: Print a Test Page First
Always print one page on plain paper before you run a big batch. Hold it up, check the margins, and confirm the card size with a ruler if you're picky.
This single test page saves you from the classic disaster: printing 40 cards on expensive cardstock only to find the text is cut off or the cards are the wrong size. Thirty seconds of checking beats a wasted stack.
If the test looks good, load your cardstock and print the real thing.
Step 6: Cut Your Cards
Cutting is the last step and the one where neatness pays off.
- Use a paper trimmer if you have one. It gives dead-straight edges far faster than scissors.
- Cut along the printed guide lines. A good flashcard maker adds faint cut lines so you know exactly where to slice.
- Cut the long lines first, then the short ones. This keeps the page steady and your cards square.
- Stack and trim a few sheets at once if your trimmer allows, to speed up big decks.
If you only have scissors, that's fine. Just go slow on the first few so you settle into a straight line.
Sample Deck: A 20-Card Set to Print
Here's a ready-to-use set of common Spanish words. Copy it into the tool, pick a size, and print.
| Term | Definition |
|---|---|
| casa | house |
| agua | water |
| libro | book |
| perro | dog |
| gato | cat |
| sol | sun |
| luna | moon |
| pan | bread |
| leche | milk |
| amigo | friend |
| familia | family |
| escuela | school |
| ciudad | city |
| tiempo | time / weather |
| comida | food |
| trabajo | work |
| dinero | money |
| coche | car |
| puerta | door |
| ventana | window |
| mesa | table |
| silla | chair |
| flor | flower |
| árbol | tree |
Twenty-four short cards like these print four to a page at 3 x 5, so this whole set fits on six sheets. Cut them apart and you've got a pocket deck in minutes.
Making Your Cards Last
If you put in the effort to print a deck, a couple of small steps keep it usable for the long haul.
- Laminate or use sleeves. Clear sleeves or a laminating pouch protect cards and let you mark them with a dry-erase marker.
- Round the corners. A corner rounder (cheap and optional) keeps edges from fraying and makes shuffling smoother.
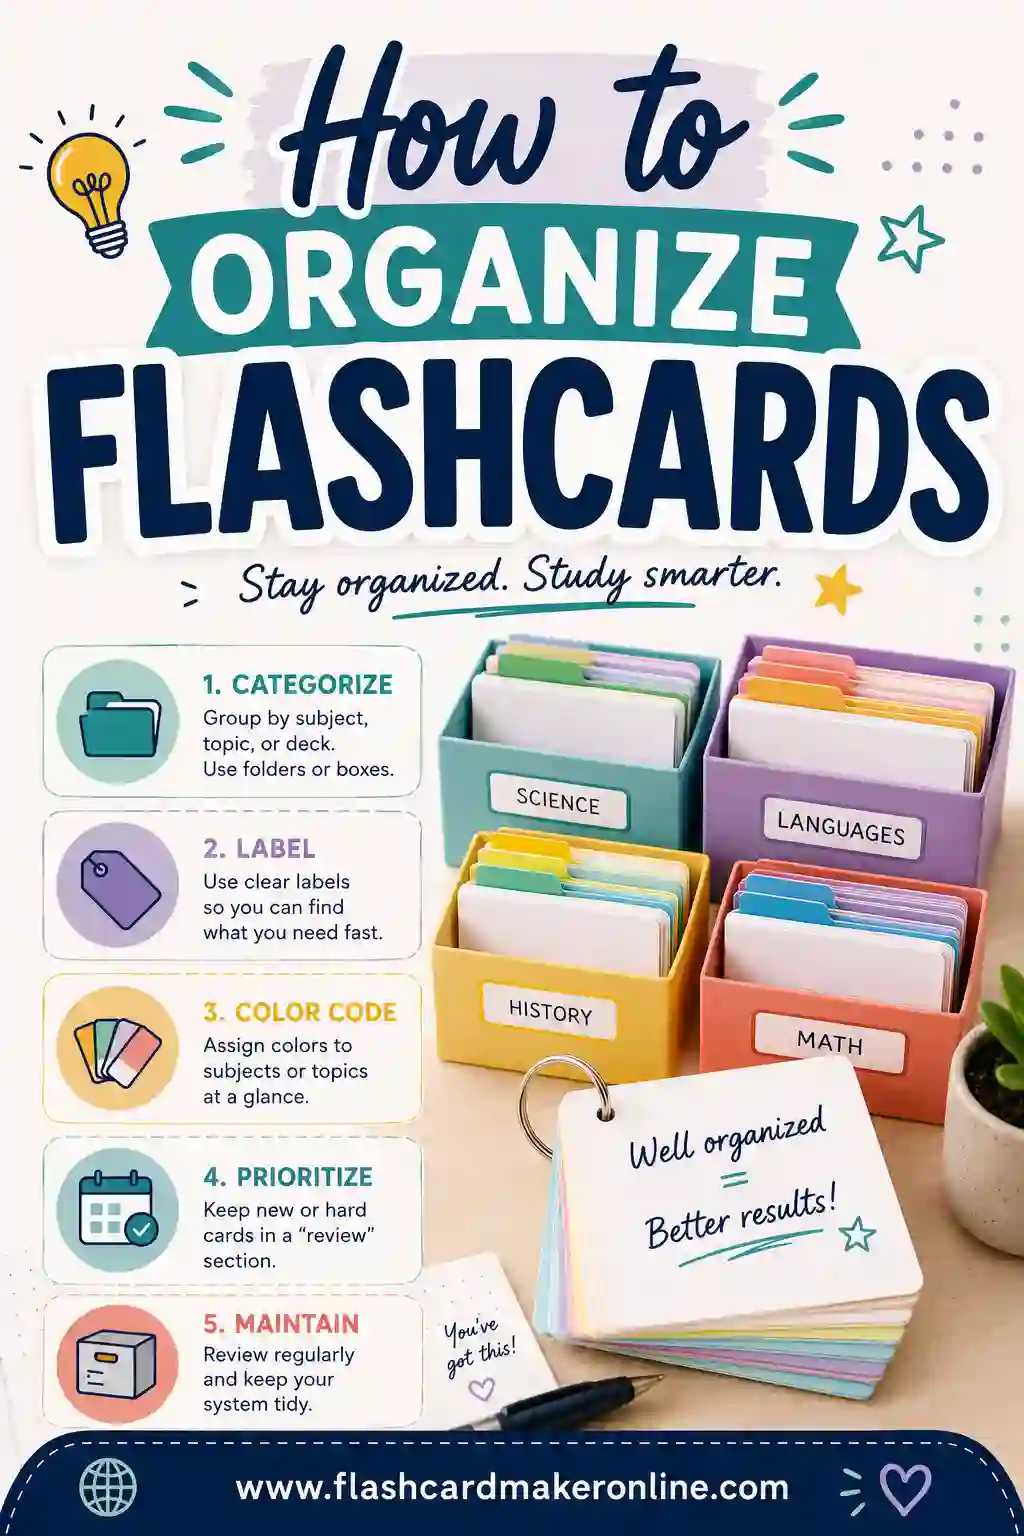
- Store in a small box or band. A rubber band or an index-card box keeps your deck together and in order.
- Keep a master file. Save your word list so you can reprint any card that gets lost or worn. Reprinting beats re-creating.
A little protection turns a one-use printout into a deck you'll reach for again and again.
Common Printing Problems and Fixes
A few snags come up again and again. Here's how to handle them.
| Problem | Likely cause | Fix |
|---|---|---|
| Cards are the wrong size | "Fit to Page" was on | Reprint at 100% scale |
| Text is cut off at the edge | Margins too tight | Add a quarter-inch margin |
| Cardstock jams the printer | Tray set for thin paper | Use the manual feed and the cardstock setting |
| Writing shows through | Paper too thin | Switch to cardstock |
| Backs don't line up | Duplex offset | See the double-sided printing guide |
Most printing trouble traces back to one of these. Fix the setting, run a fresh test page, and you'll be back on track.
Inkjet or Laser: Does It Matter?
Both print flashcards just fine, but they have different strengths, and knowing them helps you get a cleaner deck.
- Inkjet printers lay down rich color, so they're the better pick if your cards have photos, colored diagrams, or pictures. The catch: inkjet ink can smudge if it gets damp, so let cards dry fully before you shuffle them, and consider sleeves if they'll see heavy use.
- Laser printers fuse toner to the page, so the text is crisp and water-resistant the moment it comes out. That makes laser great for plain text decks you'll handle daily. Color laser exists too, but plain black-and-white laser is the workhorse for word cards.
If you only print text cards, either is fine and laser edges ahead for durability. If color matters, lean inkjet. Whichever you have, the settings in Step 4 are the same.
Printing at School, the Library, or an Office
No printer at home? You've got options, and a little prep makes them painless.
Save it as a PDF first
Before you head out, build your deck and save or export it as a PDF. A PDF locks in your layout, fonts, and margins, so the cards look the same on any printer. Bringing a Word file instead risks the spacing shifting on a different computer, which can throw off your card sizes.
Bring your own cardstock
Most print shops and libraries stock plain paper, not cardstock. If you want sturdy cards, bring a few sheets of your own and ask them to load it. Call ahead, some places are happy to, others have rules about non-standard paper in shared machines.
Mind the duplex defaults
Shared printers often default to double-sided or "fit to page." Open the print dialog and check the scale is 100% and the sides match what you want before you hit print, so you don't waste a paid sheet.
Print in Batches You'll Actually Study
A big mistake is printing a 300-card deck all at once, then feeling buried before you start. Printing is cheap to repeat, so break a large set into batches.
Print the first 30 or 40 cards, study them until they're solid, then print the next batch. This keeps your active deck small and motivating, saves paper on cards you're not ready for, and lets you fix any typos you spot before they're printed dozens of times over. Since you keep your master list in the flashcard maker, reprinting the next batch is one click away.
Frequently Asked Questions
How do I print flashcards at home?
Type your terms into a flashcard maker, choose a card size, load cardstock, and print at 100% scale (with "Fit to Page" turned off). Then cut along the guide lines. Print a single test page first to check the size and margins before running a full batch.
What paper is best for printing flashcards?
Cardstock between 65 and 110 lb is best for cards you'll reuse. It's stiff, durable, and writing won't show through the back. Regular printer paper works for a quick one-time study session but bends and wears out fast. Glossy photo paper suits image-heavy cards.
Why are my printed flashcards the wrong size?
The most common cause is the "Fit to Page" or "Shrink to Fit" setting being on, which resizes your layout. Set the scale to 100% or "Actual size" and print again. Always confirm with a test page and, if needed, a ruler before printing the full deck.
Can I print flashcards for free?
Yes. A free flashcard maker lets you build and print a full deck at no cost, with no sign-up. You only pay for paper and ink. Build your set, choose a size, and print as many cards as you need.
How do I cut flashcards evenly?
Use a paper trimmer or guillotine cutter for straight edges, and cut along the printed guide lines. Cut the long lines first to keep the page steady, then the short lines. If you only have scissors, go slowly on the first few cards to settle into a straight line.
Can I print flashcards at a library or print shop?
Yes. Save your deck as a PDF first so the layout stays exact on any machine, then print there as usual. Most shared printers stock plain paper, so bring your own cardstock if you want sturdy cards, and check the scale is set to 100% before you print so the card sizes come out right.
Is an inkjet or laser printer better for flashcards?
Both work. Laser printers give crisp, smudge-proof text, which suits plain word cards you'll handle daily. Inkjet printers handle color and photos better, so they're the pick for image-heavy cards. For simple text decks, either is fine and laser lasts a bit better.
Ready to Print Your Flashcards?
Printing your own deck is quick, cheap, and gives you exactly the cards you want. Build your list, pick a size, load cardstock, print at 100%, and cut. When you're ready, open the free flashcard maker, enter your terms, and print a clean, ready-to-cut sheet in minutes. It's free, there's no sign-up, and you can reprint anytime. For more, check out our guides on how to organize flashcards and double-sided flashcard printing.