How to Organize Flashcards: A Simple System That Works
To organize flashcards, group them by subject, then sort each subject by topic and difficulty so the cards you struggle with surface more often. The cleanest method is a Leitner box: cards you get right move forward and get reviewed less, while cards you miss go back to the front for daily practice. The fastest way to build sorted, labeled decks is to use a free flashcard maker that lets you tag, group, and print cards in order.
Want to skip the shoebox chaos? Open the free flashcard maker, type your terms, label your deck, and print a tidy, numbered set you can sort in seconds. No sign-up, no software to install.
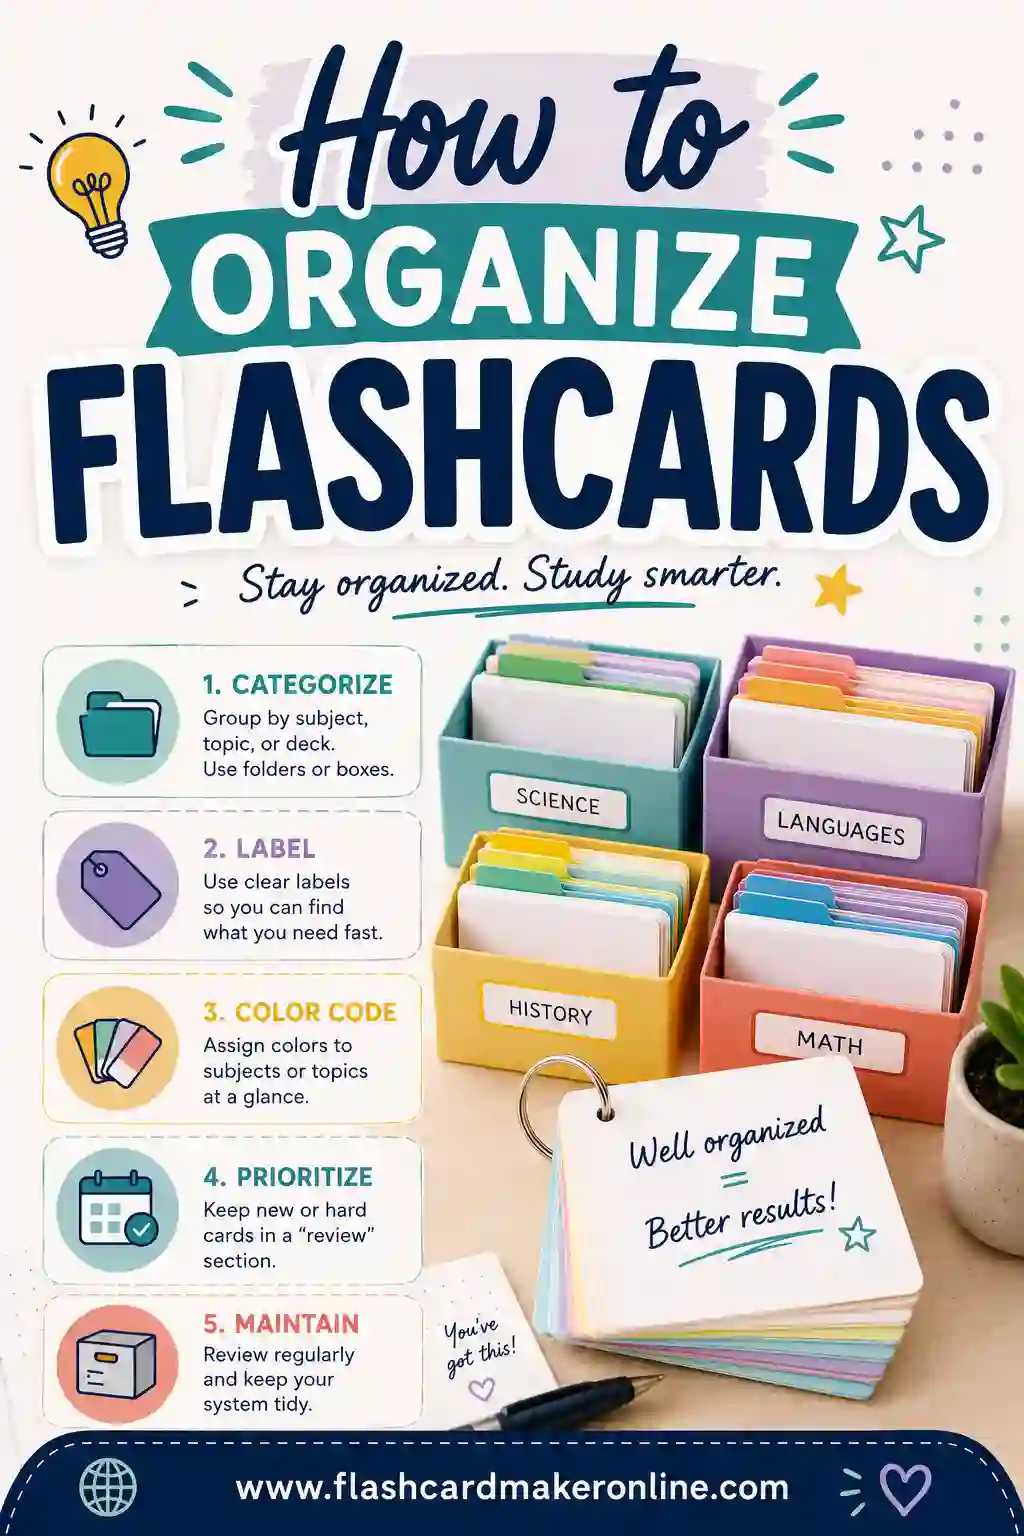
Why Organizing Flashcards Matters
A messy stack of flashcards is almost as bad as no flashcards at all. When everything is jumbled together, you waste time hunting for the right card and you keep reviewing stuff you already know. That feels productive, but it isn't. The cards you've mastered crowd out the ones you actually need to drill.
Good organization fixes that. It puts the hard cards in front of you more often and quietly retires the easy ones. It also makes a big pile feel small, because you only ever face one labeled chunk at a time. The result is less time spent and more remembered.
Here's the simple truth: the system doesn't need to be fancy. It needs to surface your weak spots and stay easy to maintain. Everything below is built around those two goals.
Step 1: Group by Subject First
Start with the biggest buckets. If you're studying for several classes or topics at once, never mix them in one stack. Spanish vocabulary, biology terms, and history dates each get their own deck.
Use a clear label on the first card or the box itself. A physical divider, a colored rubber band, or a printed header card all work. Digital decks should get an obvious name like "Bio 101 — Cell Structure" so you never open the wrong set.
This step alone solves the most common flashcard headache: opening your stack and not knowing where one subject ends and another begins.
Step 2: Sort Each Subject by Topic
Inside a subject, break things into smaller topics. A biology deck might split into cells, genetics, and ecosystems. A language deck might split into food words, travel words, and verbs.
Why bother? Two reasons:
- Focus. Studying one topic at a time helps the connections stick. Your brain builds a tidy little web instead of a tangle.
- Flexibility. Some days you only have ten minutes. A topic-sized chunk fits that window, where a giant deck doesn't.
A simple trick is to number your cards within each topic. If a card falls on the floor or a pile gets shuffled, you can put it back in seconds.
Step 3: Sort by Difficulty (the Leitner Method)
This is the part that actually boosts memory. The Leitner system is a spaced-repetition method that sorts cards by how well you know them, using a set of boxes or piles.
Here's how it works:
- Start with everything in Box 1. Review Box 1 every day.
- Move winners forward. Get a card right? It graduates to Box 2.
- Review later boxes less often. Box 2 every two or three days, Box 3 once a week, and so on.
- Send misses back to Box 1. Miss a card in any box? It drops all the way back to daily review.
The genius here is that hard cards keep coming back while easy cards fade into the background. You spend your effort where it counts.
| Box | Review schedule | What lives here |
|---|---|---|
| Box 1 | Every day | New cards and recent misses |
| Box 2 | Every 2–3 days | Cards you got right once |
| Box 3 | Once a week | Cards you're getting consistently |
| Box 4 | Every two weeks | Nearly mastered cards |
| Box 5 | Once a month | Cards you know cold |
You don't need actual boxes. Five labeled envelopes, five rubber-banded piles, or five sections of a card file all work fine.
Step 4: Color-Code for Speed
Color is the fastest way to find things at a glance. You can color-code by subject, by topic, or by difficulty, whatever you'll search for most.
A few popular schemes:
- By subject. Blue cards for Spanish, green for biology, yellow for history.
- By difficulty. Red for "still struggling," yellow for "getting there," green for "got it."
- By card type. One color for vocabulary, another for definitions, another for dates or formulas.
You can use colored cardstock, colored dots in the corner, or a stripe from a marker along the top edge. When you build cards with a flashcard maker, you can print whole topics on different colored paper in one go.
Don't overdo it. Three or four colors is plenty. Ten colors becomes its own puzzle to remember.
Step 5: Build a "Master Deck" and a "Study Deck"
Keep two versions of every set. The master deck holds every card, in order, and never changes. The study deck is the working pile you actually carry around, shuffle, and pull cards from.
This split protects you. If your study deck gets damaged or you lose a few cards, the master deck lets you reprint the missing ones. It also lets you build smaller study decks for specific goals, like "just the 20 verbs I keep missing," without breaking up your full collection.
The easiest way to keep a clean master is to make your cards digitally first. A saved word list is your master, and you can print any slice of it whenever you want.
Step 6: Cull the Cards You've Mastered
Once a card has lived in your top box for a few weeks and you nail it every time, retire it. Move it to a "done" pile and stop reviewing it daily.
Culling keeps your active deck small and your sessions short. A deck of 40 cards you half-know beats a deck of 200 where 160 are already locked in. You can always pull mastered cards back for a quick refresher before a big test.
A good rhythm is to cull once a week. Run through your top box, set aside anything you answer instantly, and enjoy a lighter stack.
Physical vs. Digital Organization
Both work. The right choice depends on how you like to study.
| Physical cards | Digital cards | |
|---|---|---|
| Best for | Hands-on review, no screens | Quick edits, big decks, search |
| Sorting | Boxes, dividers, color paper | Tags, folders, filters |
| Backup | Keep a printed master | Saved file you can reprint |
| Portability | A pocket stack | Phone or printed slice |
| Reusability | Laminate and reuse | Reprint anytime |
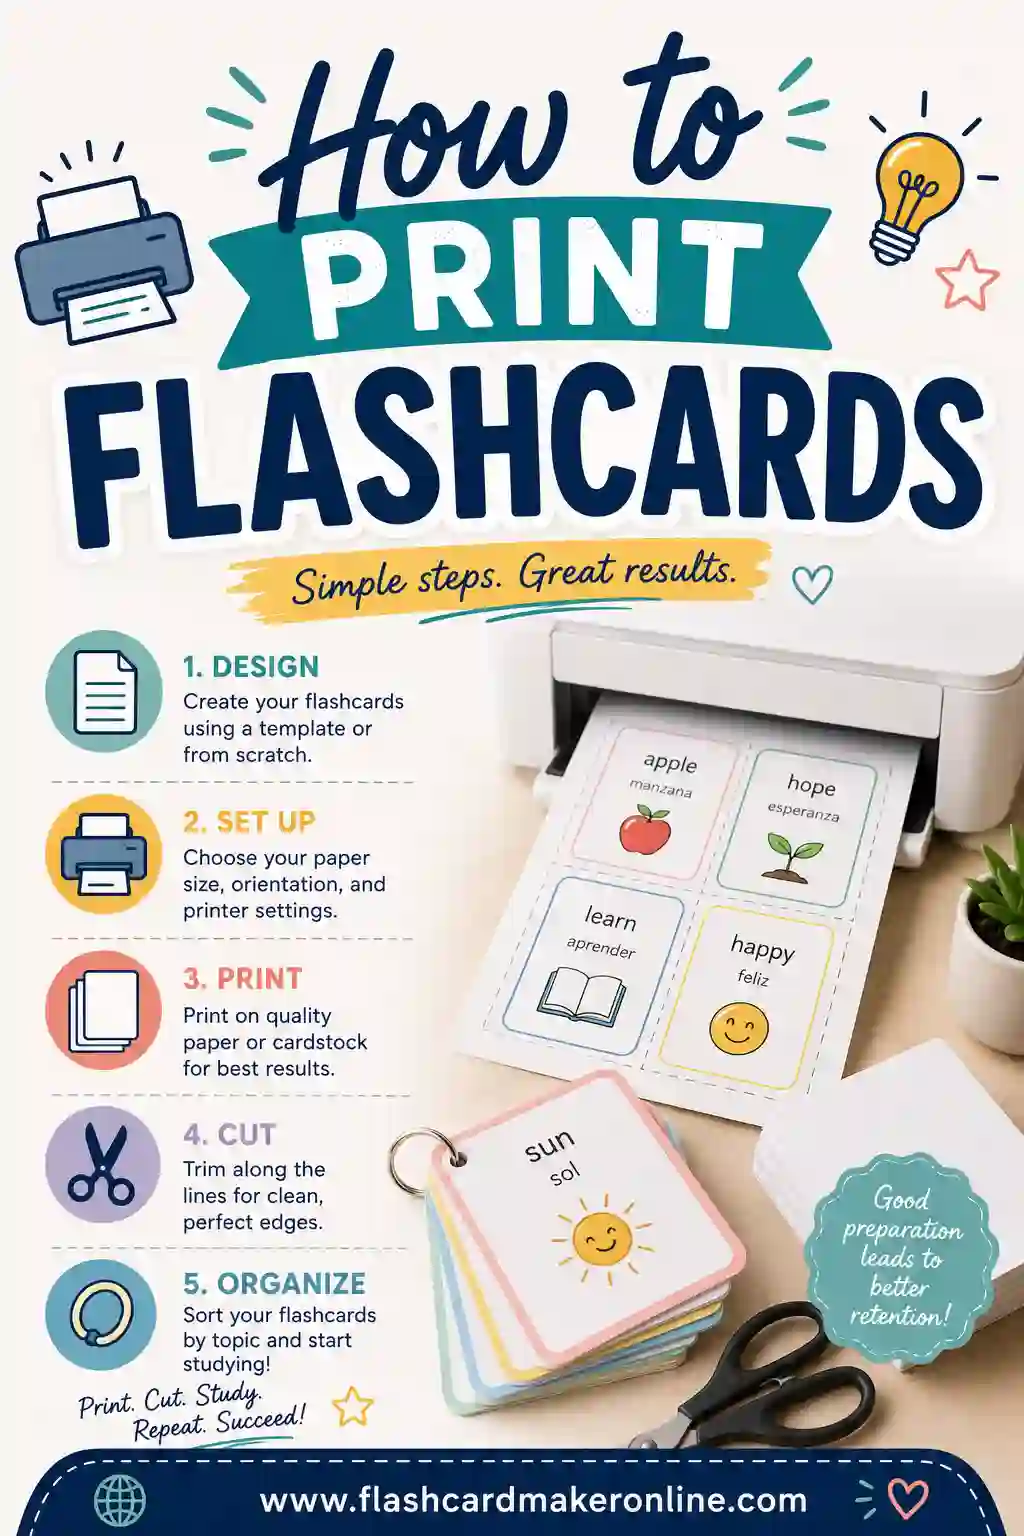
Plenty of people use both. They build and store cards digitally for the clean master copy, then print a working set to study away from a screen. If that sounds right, our guide on how to print flashcards walks through getting crisp, ready-to-cut pages.
Sample Deck: How to Organize a 20-Card Spanish Set
Here's a small organized deck to show the idea. Notice how it's one topic (everyday verbs), numbered, and ready to split by difficulty as you learn.
| Term | Definition |
|---|---|
| hablar | to speak |
| comer | to eat |
| vivir | to live |
| tener | to have |
| hacer | to do / to make |
| ir | to go |
| poder | to be able to |
| querer | to want |
| saber | to know (a fact) |
| ver | to see |
| dar | to give |
| poner | to put |
| salir | to leave / go out |
| venir | to come |
| decir | to say / tell |
| traer | to bring |
| pensar | to think |
| volver | to return |
| empezar | to begin |
| dormir | to sleep |
Print this, number it 1–20, and run it through the Leitner boxes. Within a week the five or six verbs you keep missing will be the only ones you're still drilling daily.
Keeping Your System Going
The best organizing system is the one you'll actually keep up with. A few habits make it stick:
- Re-sort after each session. Spend 60 seconds moving cards between boxes while it's fresh.
- Label everything. Future you won't remember what an unlabeled pile was for.
- Reprint instead of patching. A torn or unreadable card slows you down. Reprint it from your master.
- Keep decks small. If a topic grows past 40 cards, split it into two.
Once these become routine, organization stops feeling like a chore and starts feeling like part of studying.
Frequently Asked Questions
What is the best way to organize flashcards?
Group by subject, sort each subject by topic, then sort by difficulty using the Leitner box method so missed cards come up more often. Add color-coding for fast sorting and keep a master deck you can reprint from. This surfaces your weak spots and keeps sessions short.
How does the Leitner system work?
You sort cards into numbered boxes. Box 1 is reviewed daily; later boxes are reviewed less often. When you get a card right it moves up a box; when you miss it, it drops back to Box 1. Hard cards keep returning while easy ones fade out, so your effort lands where it's needed.
How many flashcards should be in one deck?
Aim for 20 to 40 cards per study deck. Smaller decks keep sessions focused and finishable. If a topic grows past 40 cards, split it into two smaller topics so you can review one in a single short sitting.
Should I organize flashcards by subject or by difficulty?
Both, in that order. Group by subject first so you never mix unrelated material, then sort each subject by difficulty so the cards you struggle with come up more often. Subject grouping keeps things findable; difficulty sorting makes your study time efficient.
Is it better to use physical or digital flashcards?
Both work well. Digital cards are easier to edit, search, and reprint, which makes them great for storing your master copy. Physical cards are better for screen-free, hands-on review. Many people build digitally, then print a working set to study away from a screen.
Ready to Build Organized Flashcards?
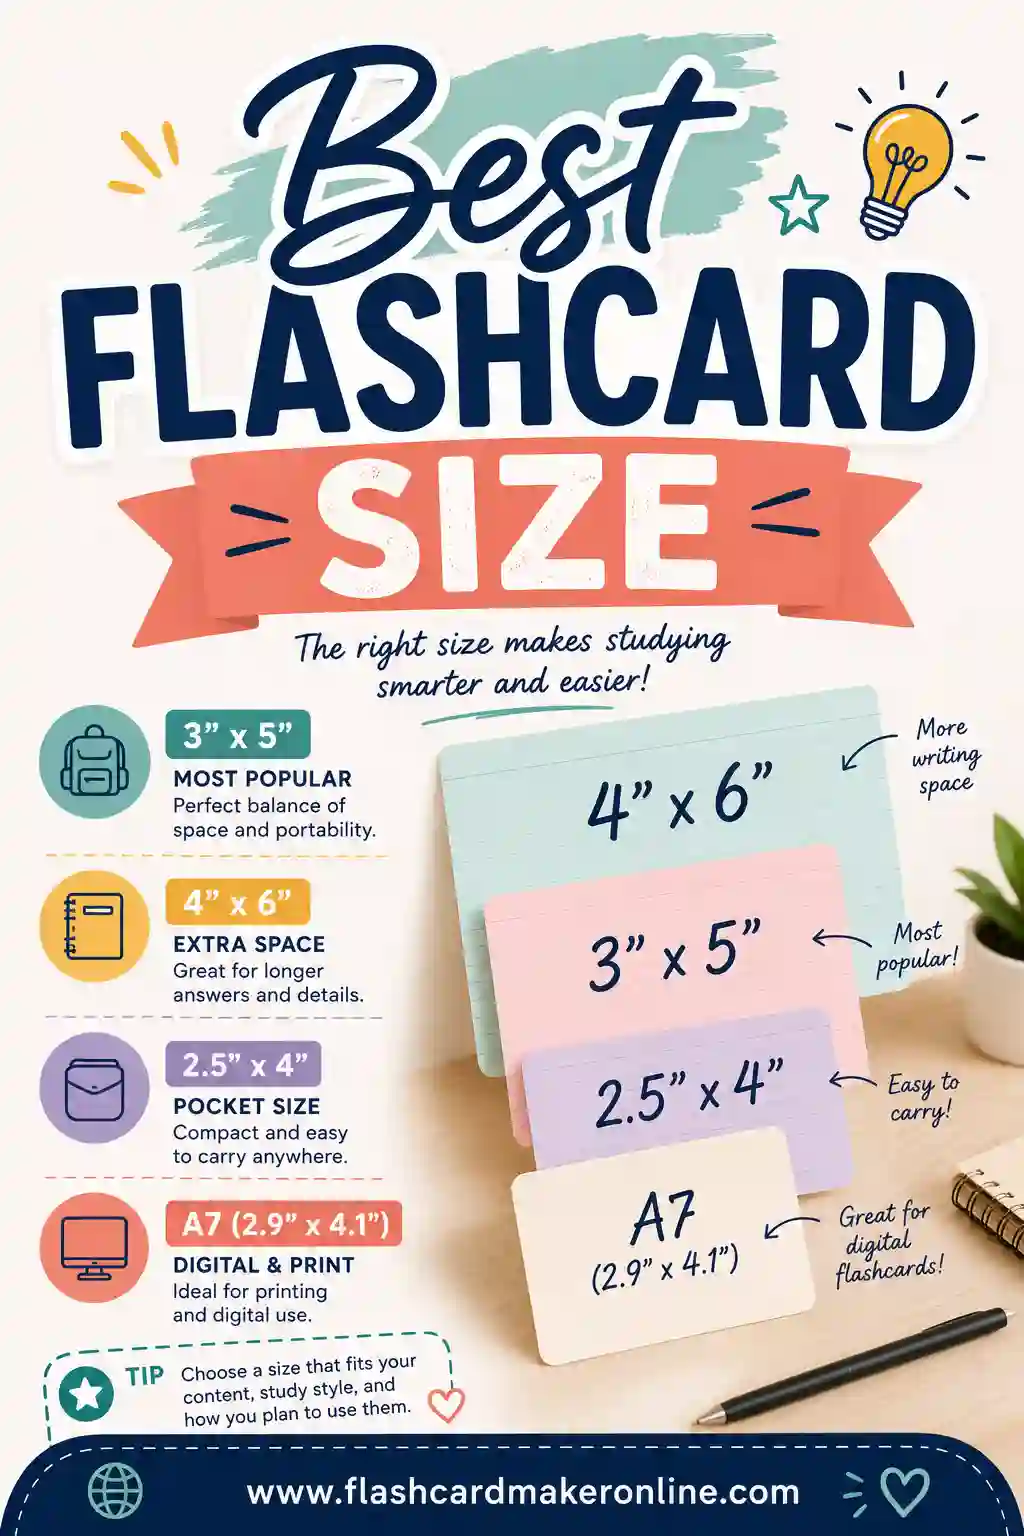
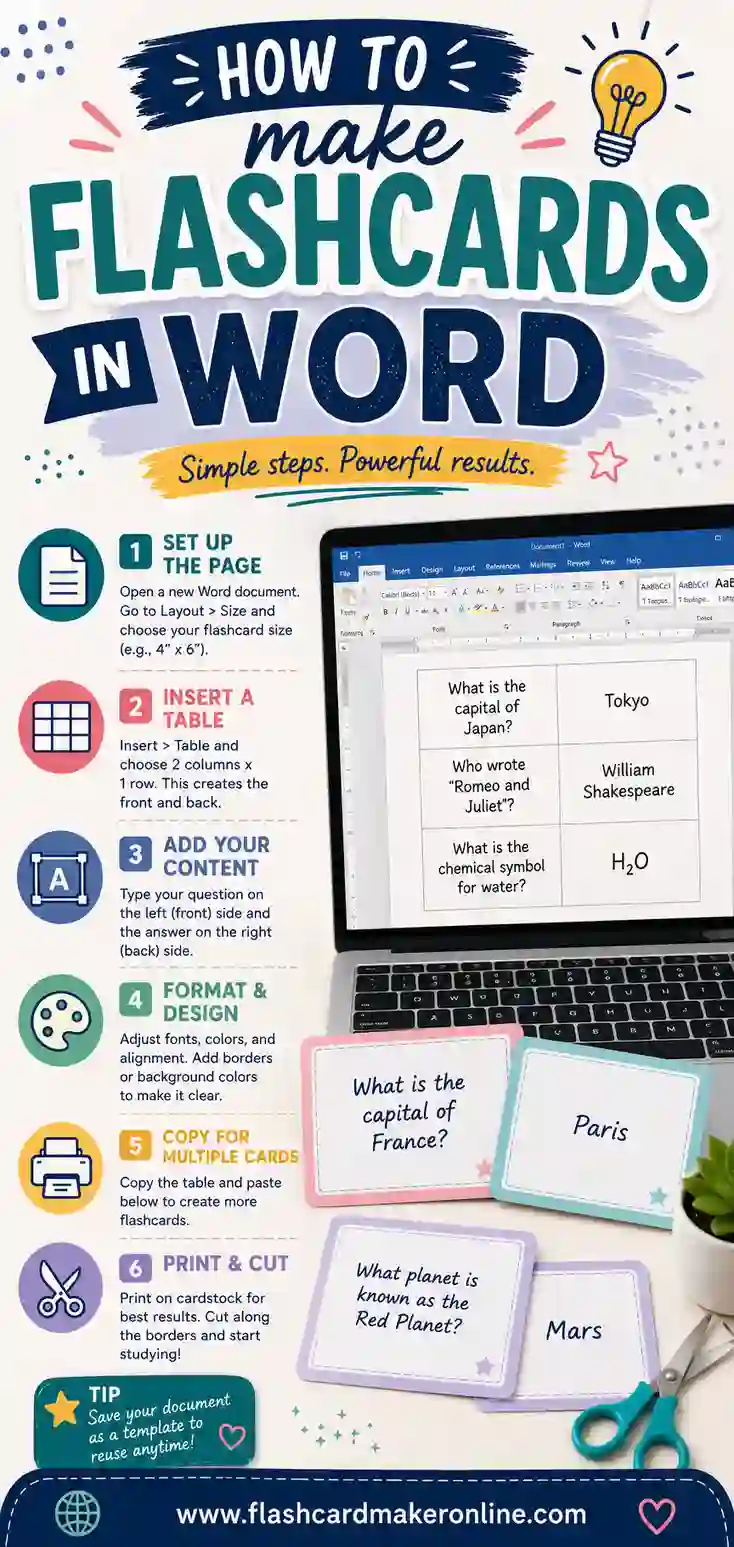
A good system turns a messy pile into a tool that actually teaches you. Group by subject, sort by topic and difficulty, color-code, and keep a clean master you can reprint. When you're ready, open the free flashcard maker, build your set, and print a tidy, numbered deck in minutes. It's free, there's no sign-up, and you can come back to print more whenever your study list grows. While you're at it, peek at our tips on the best flashcard size and how to make flashcards in Word.