A Custom Flashcard Deck as a Stocking Stuffer for a Student
A stocking stuffer for students that actually gets used is a small printed deck of their own course terms, with a personal note on the very first card. It takes about an hour, it costs a few sheets of card stock and some ink, and it fits in a stocking with room to spare. You can make the whole thing in our free flashcard maker without an account, then print it as real double-sided cards and tie it with a ribbon.
Most gift lists for students suggest the same handful of things: a desk lamp, headphones, a phone charger, a card game. Those are fine. But a deck built from the exact words in their syllabus says something none of those can: you paid attention to what they're working on. This guide shows you how to find the right terms (even if you don't understand the subject), how to build and print the deck, how to write the note on card one, how to package it, and how to make a lighter family "inside jokes" deck if the student would rather have fun than study. You'll also find ideas sorted by age and subject, a timeline for December, and fixes for the problems people hit when printing.
🃏 Quiz yourself: 10 cards from this page
Read the front, say your answer, then tap the card to check.
Make, study & print this deck → Opens the free flashcard maker with all 10 cards ready to edit or print.▶ Open this deck in the flashcard maker
Why a Flashcard Deck Makes a Good Stocking Stuffer
A stocking stuffer has a hard job. It needs to be small, it needs to be cheap enough that you can tuck several in, and ideally it shouldn't end up in a drawer by New Year's. A homemade deck checks all three boxes, and it has a few advantages that store-bought gifts don't.
It's personal in a way that's hard to fake. A pack of index cards is generic. A pack of index cards that already holds the 40 words from their anatomy unit, plus a line from you on top, is clearly made for one person. Students notice when someone took the time to look at their actual course.
It's useful right when they need it. Winter break sits between two semesters. Some students have a final grade still coming, some have a retake or a placement test in January, and most are about to start new classes with new vocabulary. A deck of first-unit terms or tricky review terms is ready to use the week they go back.
It's small. A stack of 30 index cards held with a binder clip is about the size of a deck of playing cards. It fits in a stocking, a coat pocket, or a backpack's front pouch.
It doesn't need a battery, a charger or a sign-in. A printed deck works on a bus, in a library with bad signal, or in a dorm room after the phone has been put away for the night.
It can be either serious or silly. If the student is stressed about school, give them study cards. If they're burned out and need a break, give them a deck of family trivia and inside jokes to play over the holidays. Or mix both, which is what most families end up doing.
Who this gift works for
A custom deck works for almost any student, but it fits some especially well:
- High school students heading into exams, AP courses or a new language class
- College students home for break with a tough course waiting in January
- Nursing, pre-med and other health students, whose courses are packed with terms
- Language learners, who need daily vocabulary practice
- Adults going back to school or studying for a certification
- Younger kids, who usually love anything with their name on it and a joke or two mixed in
It's a weaker fit for a student who has said clearly they hate flashcards, or one whose courses are mostly writing and projects with little to memorize. For them, a fun deck is the better choice. More on that below.
What to Put in the Deck (Without Knowing the Subject)
The most common worry is "I don't understand organic chemistry, so how can I make cards for it?" Good news: you don't have to understand the material. You only need to copy terms and definitions from a source the student already trusts. The student does the learning; you're doing the setup.
Where to find the real terms
Here are the places that usually have exactly what you need, roughly in order of how easy they are to get to:
| Source | How to get it | What you'll find |
|---|---|---|
| The course syllabus | Ask the student to forward it, or check a school portal you already have access to | Unit titles, reading lists, sometimes a list of key terms |
| The textbook's glossary or chapter summaries | Borrow the book while they're home, or ask for photos of the pages | Bold terms with short, clean definitions |
| The student's own notes or study guide | Ask casually, or have a sibling help | The exact words their teacher uses |
| Last semester's final exam review sheet | Ask what they struggled with | Terms they missed, which are the best cards of all |
| A placement test or exam guide | Official study guides list topics openly | Topic names you can turn into cards |
The easiest move is often the simplest: ask. "I'm making you something for your stocking and I need the key terms from your toughest class" doesn't ruin the surprise. They'll know a deck is coming, but they won't know what's on card one, how it's packaged, or what else is tucked in the stack.
If you want to keep it a full surprise, a sibling, a roommate or the student's partner can usually find out which class is hardest and grab a photo of the glossary.
Pick one course, not five
A gift deck works best when it's focused. One course, one unit, 20 to 40 cards. A stack that covers five subjects feels like homework. A stack that covers the first unit of the class they're nervous about feels like help.
A good way to choose: ask yourself which class the student has complained about most. That's the deck.
How many cards
| Deck size | Best for | Printing at 3×5 size |
|---|---|---|
| 12 to 15 cards | Young kids, a fun deck, a very small stocking | 4 to 5 sheets, both sides |
| 20 to 30 cards | Most students, one unit of one course | 7 to 10 sheets, both sides |
| 40 to 50 cards | A whole course review or a language starter set | 14 to 17 sheets, both sides |
For most stockings, 24 to 30 cards is the sweet spot. It's thick enough to feel like a real gift and thin enough to go through in ten minutes.
Write cards that are easy to study
Even if you're copying from a glossary, a few small rules will make your deck much more useful:
- One idea per card. If a definition covers two things, make two cards.
- Keep the front short. Just the term:
Osmosis,Opportunity cost,el desayuno. - Keep the back to one or two sentences. Trim long glossary entries to the core meaning.
- Use the student's textbook wording when you can. It's the wording their teacher will test.
- Put tricky pairs on separate cards. "Mitosis" and "meiosis" each get their own card, so the student has to tell them apart.
If you're unsure whether a definition is right, copy it word for word from the textbook or notes rather than writing your own. Accuracy matters more than style on a study card.
The note on card one
The first card is what turns a study tool into a gift. On the front, write something like Open me first or the student's name. On the back, write a short note from you.
Keep it to two or three sentences so it fits on the card and still reads well. A few starting points:
- "We're so proud of how hard you worked this semester. These are the terms from your hardest class, so January starts a little easier. Love, Mom and Dad."
- "I know chemistry has been rough. I can't do it for you, but I can make the cards. Go get 'em."
- "For the bus rides, the waiting rooms and the night before the quiz. You've got this."
- "Merry Christmas, kiddo. One card at a time."
You can also add a last card with a small promise on the back: a home-cooked meal on their next visit, a ride to the airport, a coffee date during finals week. It's a nice way to close the deck.
How to Make the Gift Deck with the Free Flashcard Maker
This part takes 20 to 40 minutes, depending on how many cards you're typing. Everything happens in the free flashcard maker. There's no account, and the deck saves automatically in the browser you're using, so you can close the tab and come back later on the same computer.
Step 1: Gather your list in one place
Before you open the maker, put your terms in a simple list. A notes app, a text file or a spreadsheet all work. Write each card on its own line with the front, a colon, and the back:
Open me first : We're so proud of you. These are the terms from your hardest class, so January starts easier. Love, Mom and Dad
Mitochondria : The organelle that makes most of the cell's usable energy (ATP) through cellular respiration
Osmosis : The movement of water across a semipermeable membrane toward the side with more dissolved solute
Diffusion : The movement of particles from an area of higher concentration to an area of lower concentration
If you're working from a spreadsheet, put fronts in one column and backs in the next. You'll be able to copy both columns and paste them straight in.
Step 2: Start a clean deck
- Open the maker. It starts on the Make cards tab.
- If there's already a deck in there that you or someone else in the house made, click Download .csv first to keep a copy. Then click Clear all.
- In Deck title, type a name the student will like seeing on screen, such as
Maya's Bio DeckorSpanish 2 Gift Deck.
Step 3: Paste your cards
- Click Paste a list.
- Paste your lines into the box. The maker splits each line at the first colon, so the part before it becomes the front and everything after it becomes the back. A tab between front and back works too, which is what you get when you copy two spreadsheet columns.
- Click Add to deck. If you've pasted a fresh full list and want it to overwrite everything, use Replace deck instead.
Look over the cards on screen. The most common mistake is a colon on the front side, like Note: open first, which splits in the wrong place. If that happens, edit the card directly or rewrite the front without the colon.
Prefer typing cards one by one? Click + Add card and fill in the front and back boxes. It's slower for long lists but handy for the note card and a few jokes.
Step 4: Add a picture or two (optional)
Every card has an Image button on both the front and the back. You can use it to add:
- A family photo on the back of the note card
- A labeled diagram from the student's notes on an anatomy or biology card
- A map for a geography or history card
- A picture of the family dog on the "who ate the last cookie" card in a fun deck
Pictures print on the cards and show in Study mode. One thing to know: pictures stay on the device where you added them. They don't travel inside a share link, so if you plan to send the deck digitally as well, the photo version is the printed one.
Step 5: Test it in Study mode
- Click the Study tab.
- Click a card or Flip to see the back. Use ‹ Prev and Next › to move through.
- Tick Shuffle to see the cards in random order.
- Try 🔊 Read aloud on a couple of cards, especially in a language deck, to hear how the side sounds.
Go through every card once. You're checking for typos, wrong splits and backs that are too long to read in one glance. Shorten anything that wraps onto many lines, because long text gets small on a printed 3×5 card.
Step 6: Save the deck two ways
Before you print, keep a copy so you can reprint it or send it later:
- Click Download .csv to save the deck as a file. You can load it again any time with Import a file.
- Click Get share link, then Copy link. Anyone who opens that link gets their own copy of the deck in their browser, which means the student can study the same cards on a phone or laptop. Save the link somewhere safe, like an email to yourself, so you can text it to them on Christmas morning.
Step 7: Print it
Go to the Print tab and pick your settings:
| Setting | Best choice for a gift | Why |
|---|---|---|
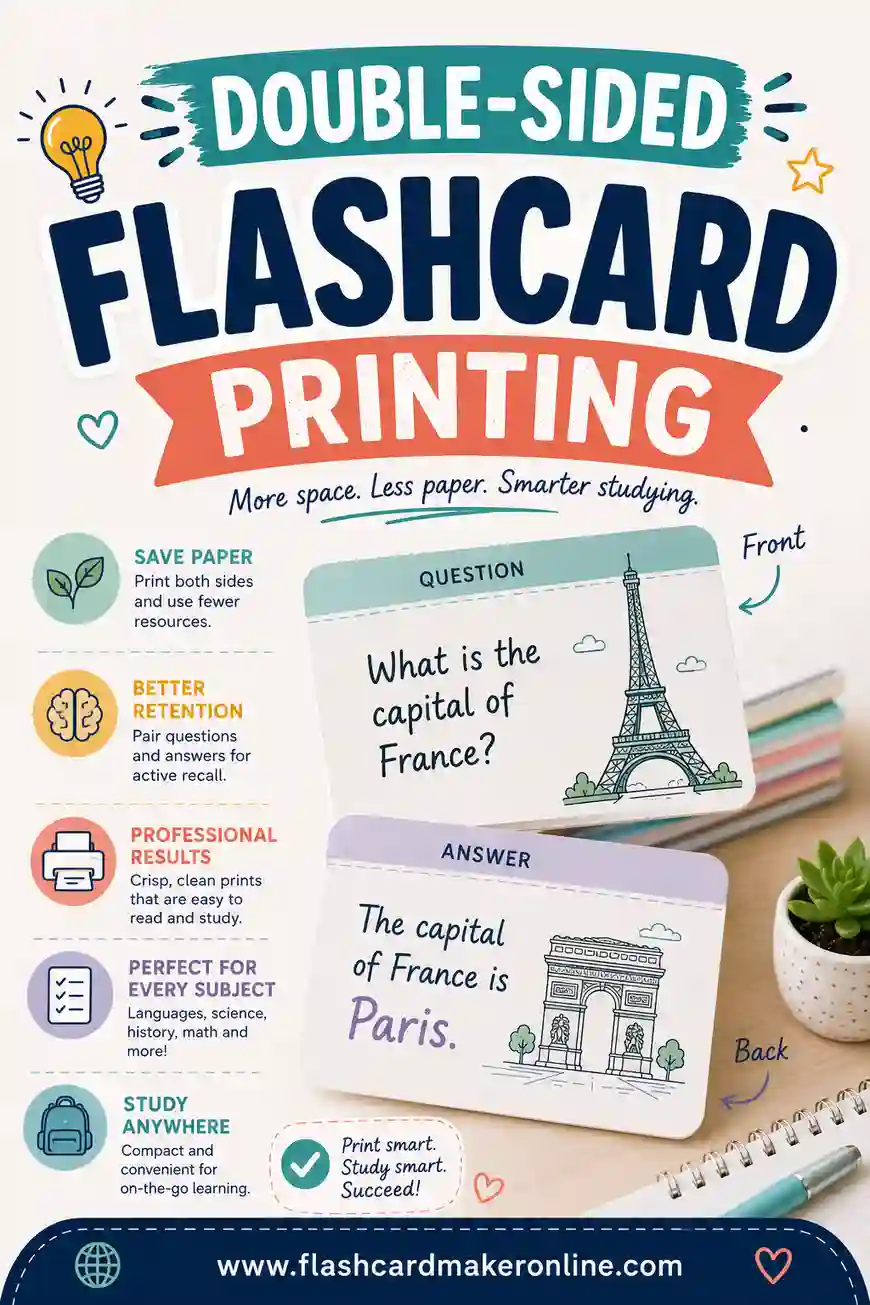
| Print layout | Double-sided | Front on one side, answer on the back, like a real deck |
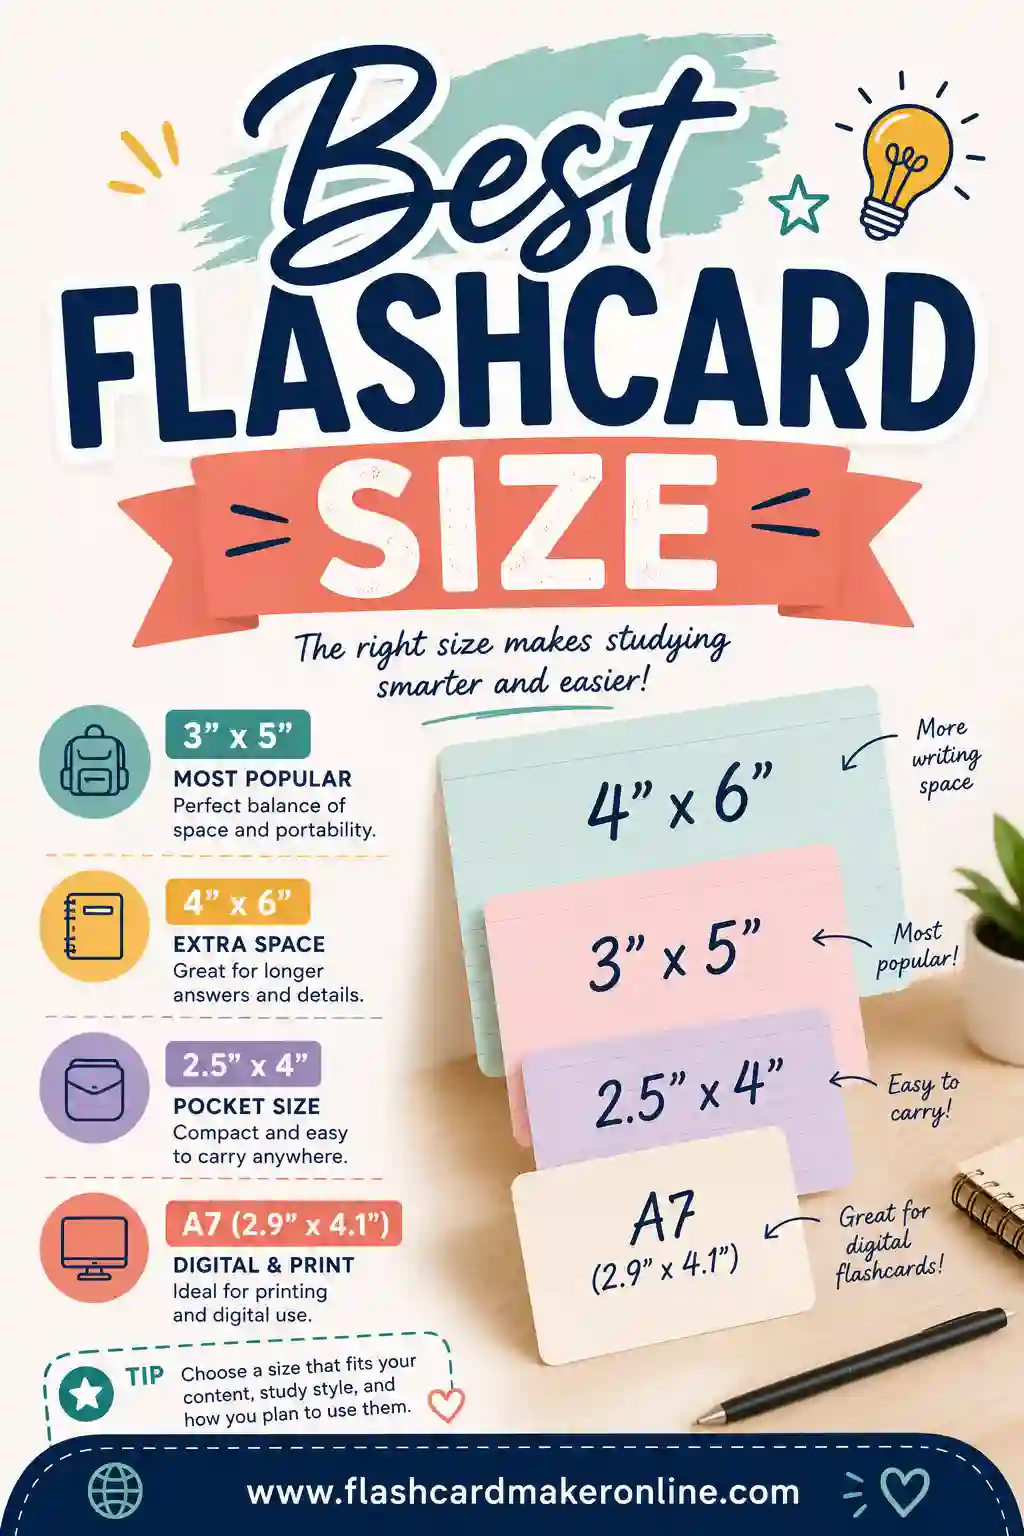
| Card size | 3×5 index card | Fits a stocking and a coat pocket; prints 3 cards per page |
| Card size (alternative) | 4×6 index card | Bigger text, good for younger kids or long definitions; 2 per page |
| Card size (alternative) | Standard | 8 cards per page, fewer sheets, smaller cards |
| Printer scale | 100 percent or "Actual size" | "Fit to page" shrinks the cards and throws off the backs |
| Duplex flip | Long edge | Keeps the backs lined up with the fronts |
Click Print a test page first if you haven't printed double-sided on your printer before. It shows you which way to flip and feed the paper. Then click Print.
If your printer can't print on both sides, pick Cut-out grid instead. It puts each front and its back side by side, so you cut them out and fold or glue them. You can also choose Fronts only and let the student check answers on screen, though that's less fun as a gift.
To keep a file copy, choose "Save as PDF" in your browser's print dialog. You'll be able to reprint the deck if a card gets lost, or print it at another house.
Step 8: Cut and finish
- Paper: Plain paper works, but card stock is much nicer. It's stiffer, it feels like a store-bought deck, and you can't see the answer through the back.
- Cutting: A paper trimmer gives cleaner edges than scissors. If you're using scissors, cut the long lines first, then the short ones.
- Corners: A corner rounder punch makes the cards look finished, but it's optional.
- Order: Put the note card on top and any "last card" surprise on the bottom.
For more detail on lining up backs, see our guide to double-sided flashcard printing.
Wrapping and Packaging Ideas That Fit a Stocking
A stack of loose cards looks a little plain on its own. A minute of packaging turns it into a gift. Here are a few ideas, all small enough to fit in a stocking and none of them requiring special supplies.
Ribbon and a tag. The simplest option. Tie a ribbon around the deck both ways, like a present, and slip a gift tag under the knot with the student's name.
Binder clip with a label. A medium binder clip holds the deck tight and stays useful all semester. Write the course name on a strip of tape and stick it to the clip.
A recycled tin or small box. Many households have an old mint tin, jewelry box or recipe-card box in a drawer. A 3×5 deck fits a recipe box exactly. Decorate the lid with paper and a label.
An envelope. A plain envelope with "Open me first" on the front builds a little suspense. Seal the note card inside a separate tiny envelope at the top of the deck if you want two layers.
A small bundle. Group the deck with two or three other study things that fit in a stocking: a few highlighters, a pack of blank index cards for them to add their own cards, a ring for holding cards together, sticky tabs, or a favorite snack for study nights.
Hole punch and a ring. Punch one corner of each card and slide them onto a book ring. This works well for commuters and language learners who want to flip through cards with one hand.
Make it obvious it's a gift, not homework
How you present the deck matters as much as what's in it. A few small touches help it land as a treat rather than an assignment:
- Put the personal note on top so it's the first thing they read.
- Mix in two or three funny cards near the start, so the first few flips get a laugh.
- Don't hand it over with "now you have no excuse to fail." Let the note do the talking.
- Pair it with something fun from the stocking so it's part of the haul, not the main event.
Gift Deck Ideas by Student and Subject
Here are ideas for the kind of deck to make, sorted by who's getting it. Use them as starting points and pull the actual terms from the student's own course materials.
| Student | Deck idea | Card count | Example card |
|---|---|---|---|
| Elementary kid | Fun facts plus spelling words from their list | 12 to 20 | How many legs does a spider have? / Eight |
| Middle schooler | State capitals or science vocabulary from class | 20 to 30 | Photosynthesis / How plants use sunlight, water and carbon dioxide to make food |
| High schooler | First unit of an AP course or a language class | 25 to 40 | la biblioteca / the library |
| College freshman | Key terms from the intro course they're dreading | 30 | Opportunity cost / The value of the next-best option you give up |
| Nursing or health student | Abbreviations, lab terms or prefixes and suffixes | 30 to 50 | -itis / Inflammation |
| Grad or professional student | Hard formulas, statutes or definitions from their exam prep | 20 to 30 | Copy word for word from their review book |
| Adult learner | Certification terms or a new language starter set | 25 to 40 | Thank you very much / muchas gracias |
| Any student who is burned out | Family trivia and inside jokes | 15 to 25 | Who lost the car keys at the beach? / Dad, twice |
Course-term decks that make good gifts
Some subjects lend themselves to a gift deck better than others. The best ones are full of short, stand-alone terms:
- Biology and anatomy: organelles, body systems, bones, muscles. Our anatomy flashcards page has more about how to word these.
- Psychology: biases, theories, researchers and their main ideas.
- Economics: supply and demand terms, cost concepts, market types.
- A world language: first-unit vocabulary such as greetings, food, school words and common verbs.
- Medical terminology: prefixes, roots and suffixes, which repeat across every course in a health program.
- Statistics: mean, median, mode, standard deviation, sample vs. population.
- History: key dates, treaties and terms for the next unit.
Subjects heavy on problem-solving, like calculus or physics, can still work, but focus the cards on formulas and definitions, not worked problems. A card should be answerable in a few seconds.
A sample 24-card deck for an intro psychology student
To show the balance, here's the plan for a full gift deck:
- One note card on top
- Two funny family cards to start
- Eighteen course terms from the first three chapters
- Two more family cards scattered in the middle
- One "last card" promise at the bottom
That's 24 cards, which prints on 8 sheets at 3×5 size, both sides. The study cards make up three quarters of the deck, so it's useful. The family cards make it feel like a gift.
The Family Inside-Jokes Deck: A Fun Version for Christmas Day
Not every student wants to see the word "study" in their stocking. If yours is tired after finals, make a fun deck instead: family trivia, inside jokes and holiday memories, built the same way and played as a card game after dinner.
What goes on fun cards
Think of the stories your family retells every year. Each one can become a card:
- Who did it?
Who put salt in the sugar bowl? : Grandpa, on purpose - Where is it?
Where are the good scissors hidden? : Top shelf of the coat closet - Finish the saying.
Grandma always says, "You can't leave until..." : "...you take a plate home" - Family numbers.
How many cousins are there? : Eleven, counting the new baby - Holiday history.
What year did the tree fall over? : The year we got the puppy - Guess the photo. Use the Image button to put a baby picture on the front and the name on the back.
Keep every card kind. A good inside joke makes everyone laugh, including the person it's about. Skip anything that could embarrass someone in front of the whole family.
How to play it
You don't need special rules. Here are three easy ways to use the deck with a group:
- Quiz show. One person reads the fronts out loud. The first person to shout the right answer keeps the card. Most cards at the end wins.
- Teams. Split into two teams, such as kids against grown-ups. Teams take turns answering. A wrong answer passes the card to the other team.
- Screen version. Open the deck on a laptop or TV in Study mode with Shuffle ticked. Click to flip each card so everyone sees the answer at once. 🔊 Read aloud can read the fronts if nobody wants to be the host.
Our page on games using flashcards has more game ideas that work with any deck, study or fun.
Mixing study and fun
The mixed deck is often the favorite. Every fourth or fifth card is a family joke, so the student gets a small laugh while they study in January. It also makes the deck harder to abandon, since they'll want to find the next joke.
A December Timeline for Making the Deck
You can make this deck the night before, but a little planning makes it easier and gives you time to fix printing problems.
| When | What to do | Time needed |
|---|---|---|
| Early December | Find out the student's hardest or next course. Ask for the syllabus, notes or glossary photos | 10 minutes |
| Two weeks before | Type or paste the terms into a list. Pick 20 to 40 cards | 30 to 45 minutes |
| Ten days before | Build the deck in the maker, add pictures, test in Study mode, download the .csv and save the share link | 20 to 30 minutes |
| One week before | Print a test page, then print the full deck on card stock | 20 minutes |
| A few days before | Cut, round corners, put the note card on top, package it | 30 minutes |
| Christmas morning | Text the share link so the deck is also on their phone | 1 minute |
If the student is mailing home a list of terms or living far away, leave extra time. If you're shipping the gift, check your carrier's official holiday shipping dates before you plan, since cut-off dates change from year to year.
A last-minute version
Short on time? Here's a version you can finish in under an hour on Christmas Eve:
- Skip the course terms and make a 15-card fun deck from family memories.
- Open the maker, type a title, click Paste a list and paste your 15 lines.
- Print on plain paper using Cut-out grid, which needs no double-sided printing.
- Cut, fold each card in half so the answer is on the back, and tie with ribbon.
- Add a promise card: "Good for one study session with snacks provided, any time in January."
Troubleshooting Common Problems
Most problems with homemade decks happen at the printing stage. Here's what tends to go wrong and how to fix it.
| Problem | Likely cause | Fix |
|---|---|---|
| Backs don't line up with fronts | Wrong flip edge or "Fit to page" scaling | Print the test page, flip on the long edge, print at 100 percent |
| Answers show through the paper | Paper is too thin | Use card stock, or print fronts and backs on separate sheets and glue them |
| Text is tiny on the card | Back side is too long | Shorten the definition to one or two sentences, or switch to 4×6 size |
| A card split in the wrong place | A colon on the front side | Edit the card, or paste with a tab between front and back |
| The old deck in the maker disappeared | It was cleared for the gift deck | Use Import a file with the .csv you downloaded first |
| Pictures missing after opening the share link | Links carry only text | Add pictures again on that device, or rely on the printed copy |
| Printer has no double-sided option | Single-sided printer | Choose Cut-out grid and fold, or flip the sheet by hand after the test page |
| The student doesn't use the deck | Too long or too broad | Trim to 20 to 30 cards from one unit and add a few fun cards |
If you've never printed flashcards before, our guide on how to print flashcards covers paper, printer settings and cutting in more detail.
Helping the Student Use the Deck After Christmas
A gift deck is most useful if the student knows how to study with it. You don't need to lecture, but a one-line tip on the last card helps. Some short suggestions to pass along:
- Answer before flipping. Say the answer out loud or in your head before turning the card. Guessing and checking is what makes it stick.
- Make two piles. Cards you knew go in one pile, cards you missed go in another. Go through the missed pile again.
- Ten minutes a day beats an hour once a week. A short daily pass keeps terms fresh.
- Add your own cards. Blank index cards in the stocking invite them to keep building.
If the student is in college, our page of tips on flashcards for college students is a good link to send along with the share link.
Make your gift deck tonight
You don't need to be an expert in their subject or spend much to give a student something useful and personal this year. Gather 20 to 30 terms from their toughest class, write a short note for card one, and build the deck in the free flashcard maker. Print it double-sided at 3×5 size, tie it with a ribbon, and text them the share link on Christmas morning so the same cards are on their phone too.
▶ Open this deck in the flashcard maker
Frequently Asked Questions
What is a good stocking stuffer for students that isn't generic?
A small printed flashcard deck of their own course terms, with a personal note on the first card, is useful and clearly made just for them. You can pair it with blank index cards, highlighters or a favorite snack. For a student who needs a break, a deck of family trivia works just as well.
Do I need to understand the subject to make the cards?
No. Copy terms and definitions word for word from the student's textbook glossary, syllabus, notes or study guide. You're doing the setup, not the teaching. Using their own course wording also makes the cards more accurate for their tests.
How many cards should a gift deck have?
For most students, 20 to 30 cards is right. It feels substantial but can be studied in about ten minutes. Younger kids and fun decks work well at 12 to 20 cards, while a full course review can go up to 40 or 50.
Can I print double-sided flashcards at home?
Yes. Choose Double-sided on the Print tab, print at 100 percent scale, and flip on the long edge. Print the test page first so you know how your printer feeds the paper. If your printer can't print on both sides, use the Cut-out grid layout and fold the cards.
What size should the cards be for a stocking?
The 3×5 index card size fits most stockings and coat pockets, and it prints three cards per page. Choose 4×6 for younger kids or long definitions. The Standard size prints eight cards per page if you want a smaller, thinner deck.
Can the student also use the deck on a phone?
Yes. Click Get share link and Copy link, then send it to them. Opening the link gives them their own copy of the deck in their browser, where they can study it with Shuffle and Read aloud. Pictures don't travel in the link, so they'll only be on the printed copy.
Is this a good last-minute gift?
Yes. A 15-card fun deck can be typed, printed on plain paper with the Cut-out grid layout, cut and tied in under an hour. Add a promise card, such as a study night with snacks, to round it out.
How do I keep it from feeling like homework?
Start with a warm personal note, mix two or three funny family cards into the first few, and present it as part of the stocking haul. Avoid handing it over with a lecture. Let the note on card one say why you made it.